Archive for Raised Bed Gardens

Gardening with Woodchips in the Winter

There is no doubt that mulching builds soil, reduces the need to water, and helps control weeds. But what does it do to protect plants from the cold? In many climates, perennials will survive just fine without any protection. In cold areas, snow is an excellent insulator; it keeps plants underground at a temperature around freezing and protects them from the worst of winter conditions. If we could be sure that there would be a good layer of snow throughout winter, our gardens wouldn’t experience many problems at all. Without snow or other mulch in tough winter months, however, plants may suffer heaving and freezing, which can damage their root systems.

The best time to apply winter mulch is just after the first hard frost. By putting mulch down at this time, you will help stabilize the temperature of the soil right around freezing. Applying mulch too soon may delay freezing and encourage heaving and thawing. Applying it too late may cause the roots of plants to experience temperatures below that which they can handle.

Pine bark or wood chips are the best mulches; they enrich soil as they degrade. A layer of mulch about 4 to 6 inches deep over the plants works well. Most perennials will pop through the mulch in spring. If the plants are young, small, or newly planted in fall, you may need to clear some of the mulch in spring so that the plants can emerge without difficulty through the winter protection.

Organic mulches cushion the soil from compaction and erosion caused by heavy winter rains while safeguarding the soil’s storehouse of nutrients. In addition, winter mulches can enhance the cold tolerance of perennial vegetables, herbs and fruits, helping to insure a strong comeback in spring.
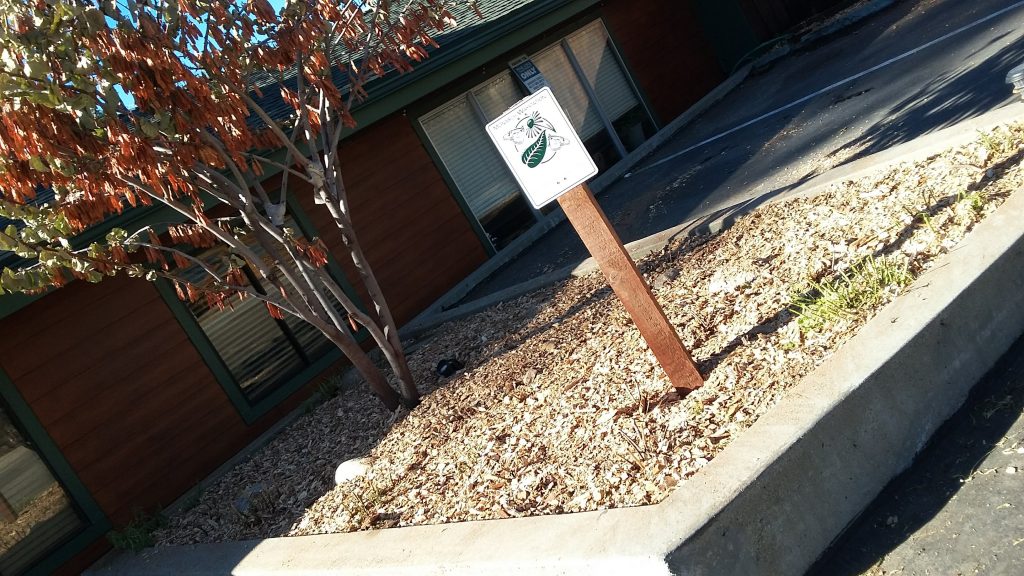
Recently laid wood chips to keep the roots nice and cozy

The what, why, how, and where

What are woodchips?
Woodchips are small pieces of wood.

Why would I want woodchips in my garden design?
The most common way of using woodchips for gardening is to spread them on the ground as mulch.

How?
It is important to remember that, as with any permaculture technique, every site is different and every plant species has its own unique requirements. You may find woodchip mulching in one part of your site does not work, while in another place it does wonders.
• Spread the woodchip mulch at least 2-3 inches deep
• Plant seedlings in the soil just below the woodchips
• It may be too difficult to move the woodchip layer for seeds which are small or closely spaced, such as carrots, beetroots, spinach, and onions, so maybe use a different mulch material if you are planning to grow these kind of crops
• Squash grow particularly well in woodchips

Where can you get woodchips?
We currently have a large pile at our Dutch Flats location that Pine Cove residents can go and gather as much as they’d like for free.
Special for December – have a truckload delivered for only $100

Posted in: Garden, gardening, Mulch, Raised Bed Gardens, The Garden, winterizing, Wood chips

Leave a Comment (0) →

Have you seen any monarch butterflies this season?

I recently read an article in The San Diego Union-Tribute dated July 13, 2020 that said butterfly plants are in short supply. They cited the pandemic-fueled gardening boom as well as public’s awareness of shrinking monarch population and wanting to help increase it. The Center for Biological Diversity put a release out on March 13, 2020 that stated the yearly count of monarch butterflies overwintering in Mexico shows a decrease of 53% from last year’s count and is well below the threshold at which government scientists predict the migration could collapse. They attribute the decrease of Monarchs to milkweed being devastated by increased herbicide spraying in conjunction with corn and soybean crops that have been genetically engineered to tolerate direct spraying with herbicides. Additionally, they are being threatened by other herbicides and by neonicotinoid insecticides that are toxic to young caterpillars and decrease the health of adult butterflies.

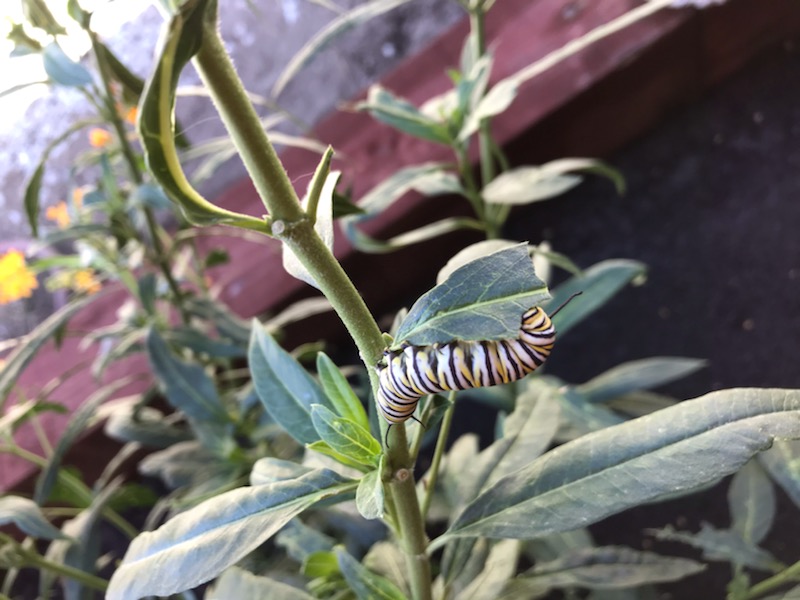
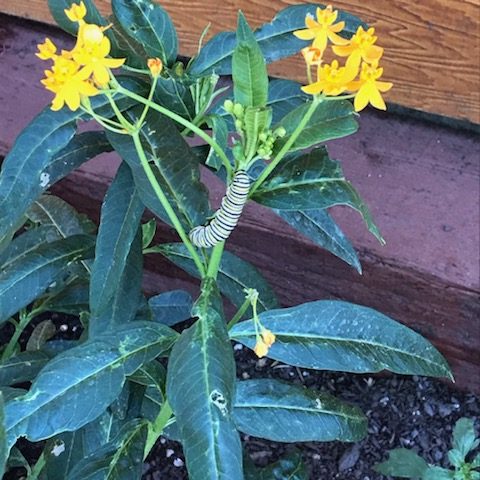
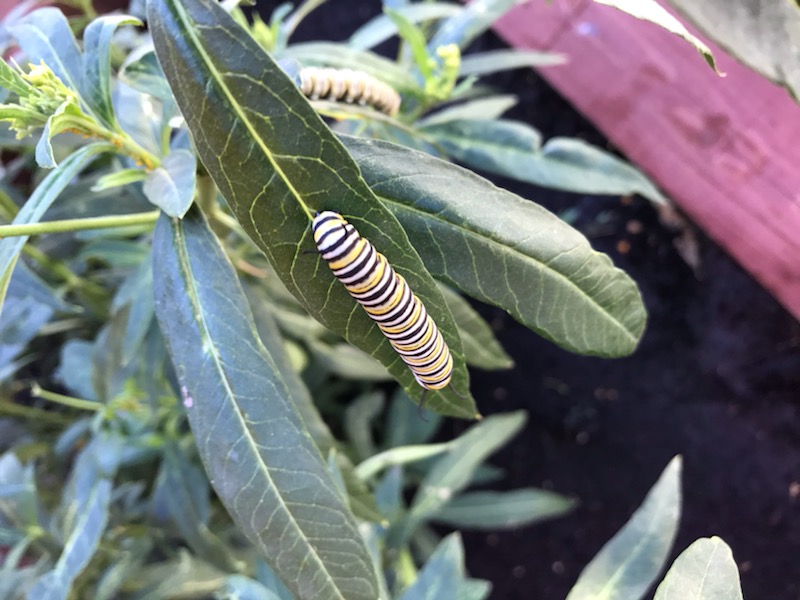
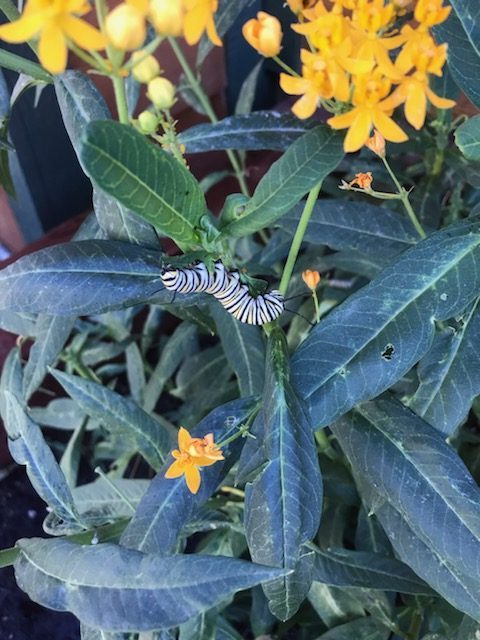
At the Pine Cove Water District, we were lucky enough to procure several new narrow-leaf milkweed as well as tropical milkweed for our butterfly garden. We’ve even seen a couple of visitors and look forward to seeing more as we come to the end of the season.

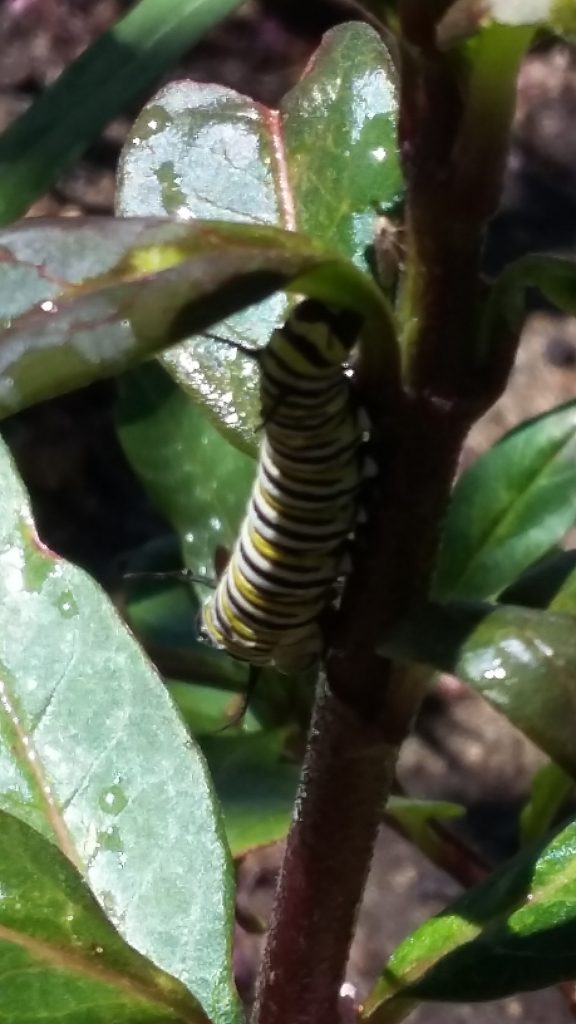
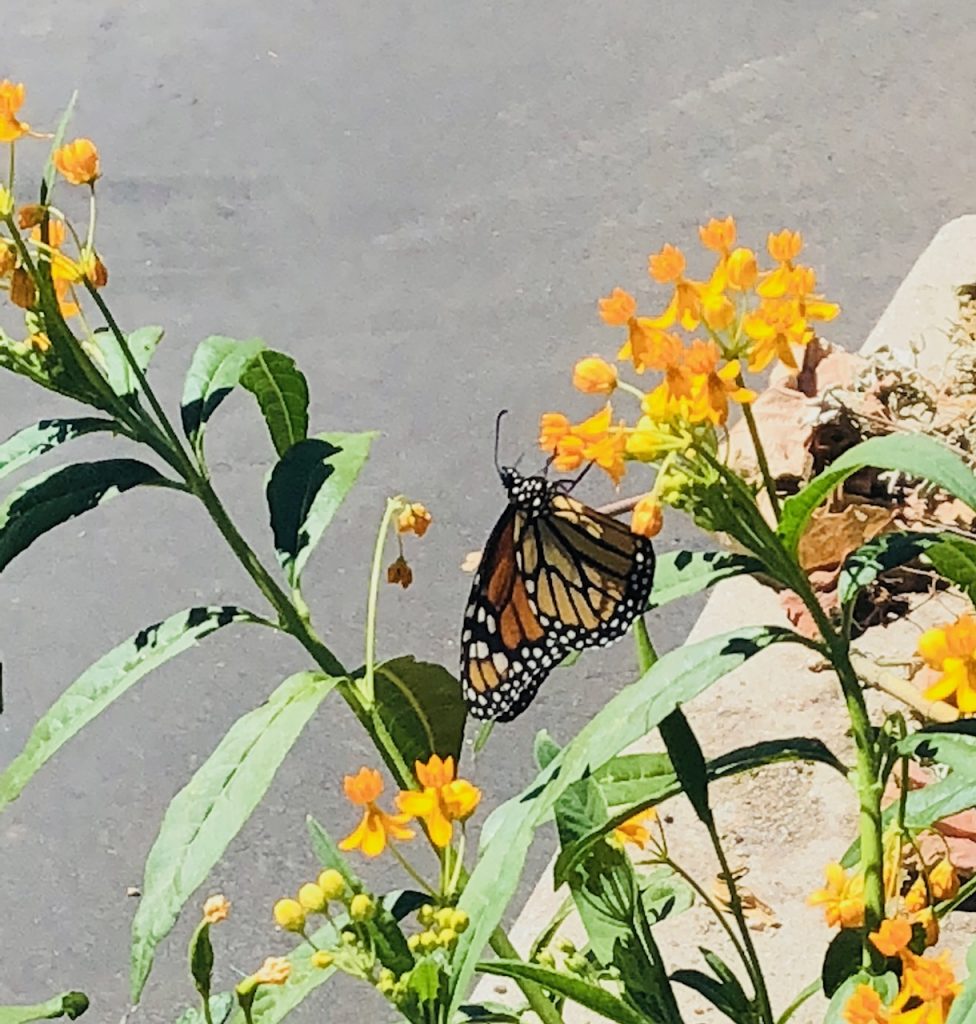
There’s a little guy hanging upside down
Another bigger guy across the garden

What can you do to help?

Plant the right milkweed.
According to The Laid-back Gardener, Monarchs seem to like common milkweed best but also fed happily on swamp milkweed. Apparently, butterfly weed isn’t too well liked in the caterpillar community.

Cut your milkweeds back.
Prior to blooming, cutting back the plants make them more attractive hosts for caterpillar larvae. Research at Michigan State University shows that female monarchs prefer to lay their eggs on fresh young stems that haven’t flowered yet. Heavy pruning doesn’t harm the milkweed plants and they quickly rebound.

Know your sources and avoid pesticides, insecticides, and herbicides.
When purchasing flower starts or seed, know the source. Make sure they are all natural and have no pesticides. Additionally, keep that same mind set when amending your soil and use natural compost like the compost we supply at the Water District to Pine Cove residents.

Plant additional flowers to feed adults.
Although the female monarchs only lay their eggs on milkweeds and their caterpillars only feed on those same plants, adult monarchs feed on nectar of additional flowers like Wild Bergamont, Mountain Mint, Pale Purple Coneflower, and more. Try to provide a wide range of flowers that bloom through the entire growing season. It is also suggested that you grow single plants isolated from others by mulch or wood chips (which the Water District also can supply to Pine Cove residents) instead of mixing them as the butterflies rely on seeing the plant shapes to know where their food is.

Posted in: Animals, Around the District, Compost, Garden, gardening, Monarch Butterflies, Mulch, Pine Cove Water District, Raised Bed Gardens, The Garden, Uncategorized, Wood chips

Leave a Comment (0) →
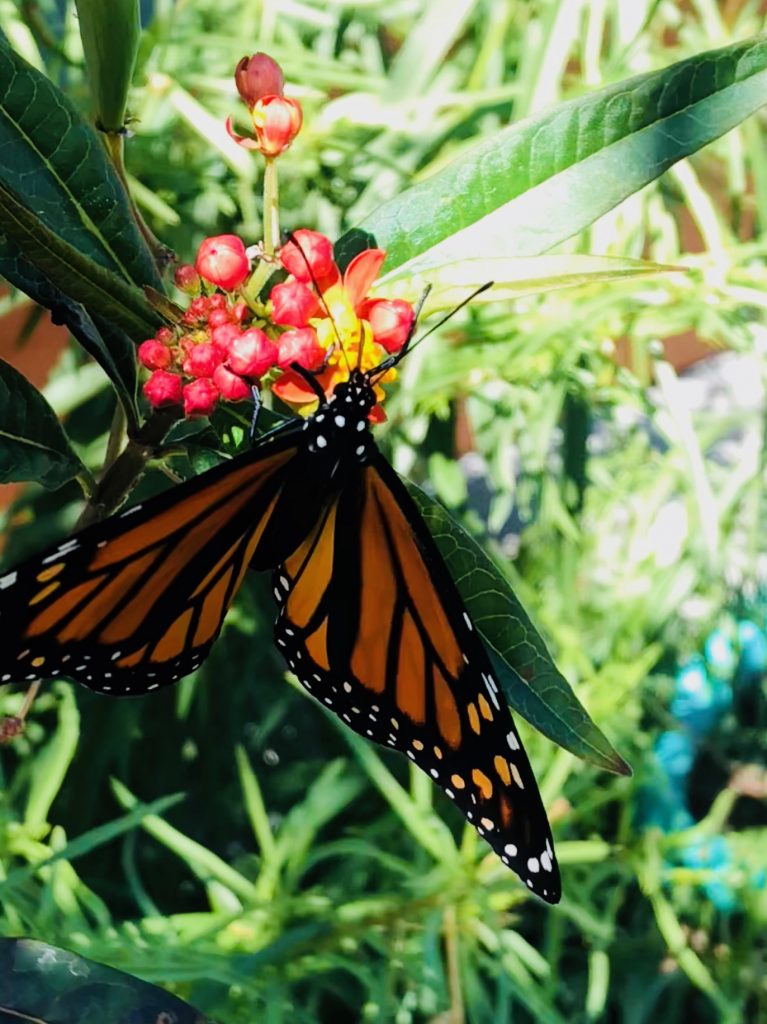
Monarch Butterflies are Emerging

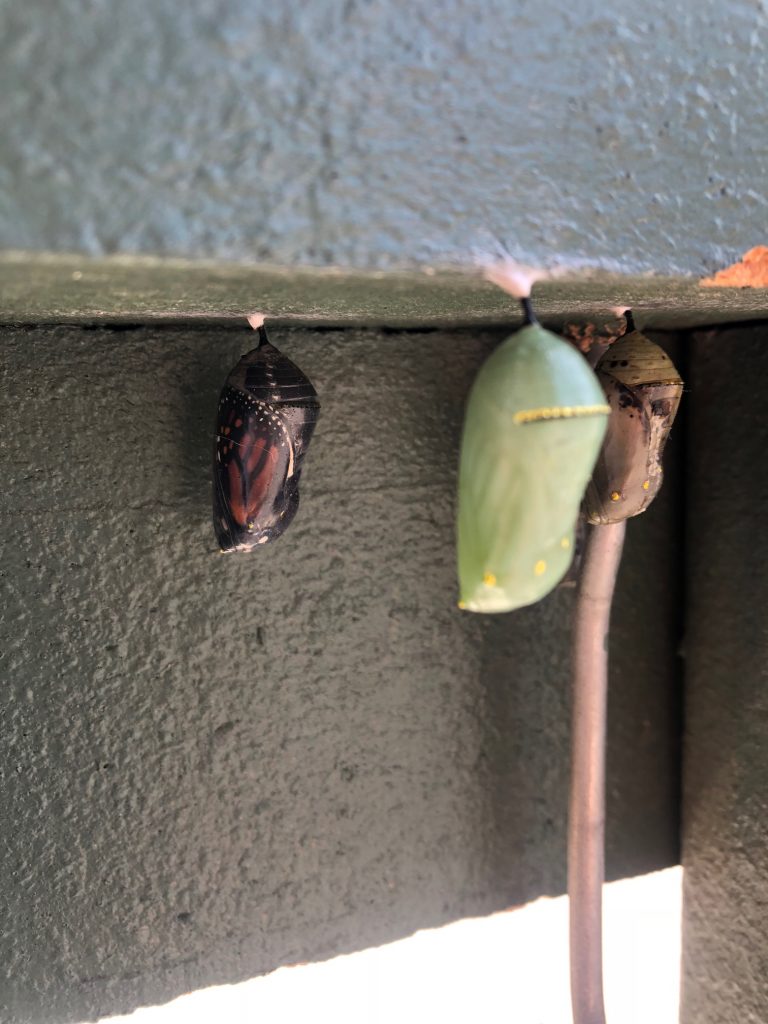
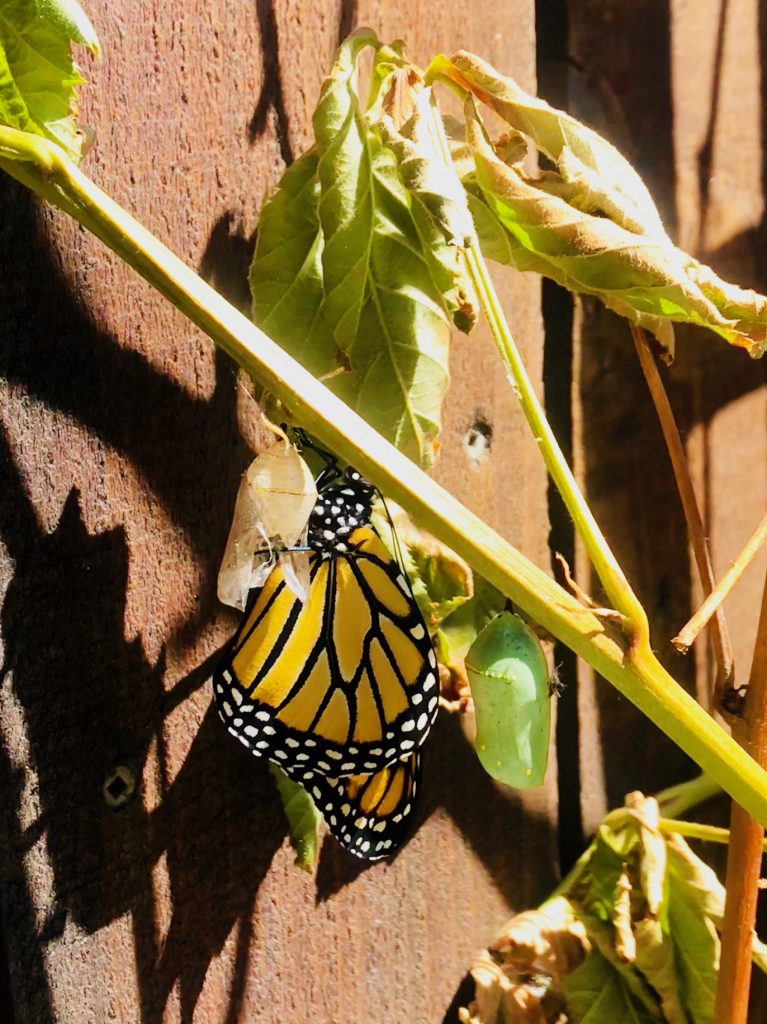
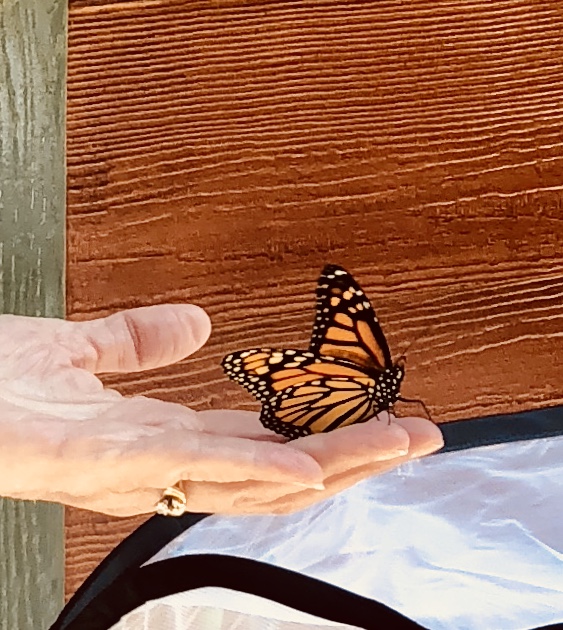
We have been releasing Monarch Butterflies all week. Most of them look great but there are the few sad ones that emerge with some deformities like bent or shriveled wings. Below you can see three examples of chrysalis and the one on the far right will not make it to becoming a butterfly but the one on the left looks like it will emerge any minute and you can even see the beautifully formed orange wings. The green one in front looks healthy.

Three Chrysalis the new green one, about to hatch is black and one that has gone bad
Monarch fresh out of the chrysalis
Release the Monarch
Monarch Feeding for the first time
Monarchs love Milkweed

Posted in: Animals, Around the District, Community, Customer Infomation, From the Office, Monarch Butterflies, Pets and Animals, Pine Cove Water District, Raised Bed Gardens

Leave a Comment (0) →

Hungry Little Caterpillars Keep Growing

We are finding more Monarch caterpillars everyday in our planters. They are eating a ton of Milkweed and getting bigger with each day. Soon they will get big enough to shape themselves into a J and start spinning a cocoon. From there the transformation from a chubby little caterpillar to a majestic Monarch butterfly will begin.

How many caterpillars do you see in the above picture?
This little caterpillar has ate this Milkweed leaf down to a nub.
Just hanging around upside down.

Answer to the fist picture: 4 Caterpillars are pictured

Posted in: Animals, Community, Customer Infomation, Garden, gardening, Monarch Butterflies, Raised Bed Gardens, Uncategorized

Leave a Comment (0) →
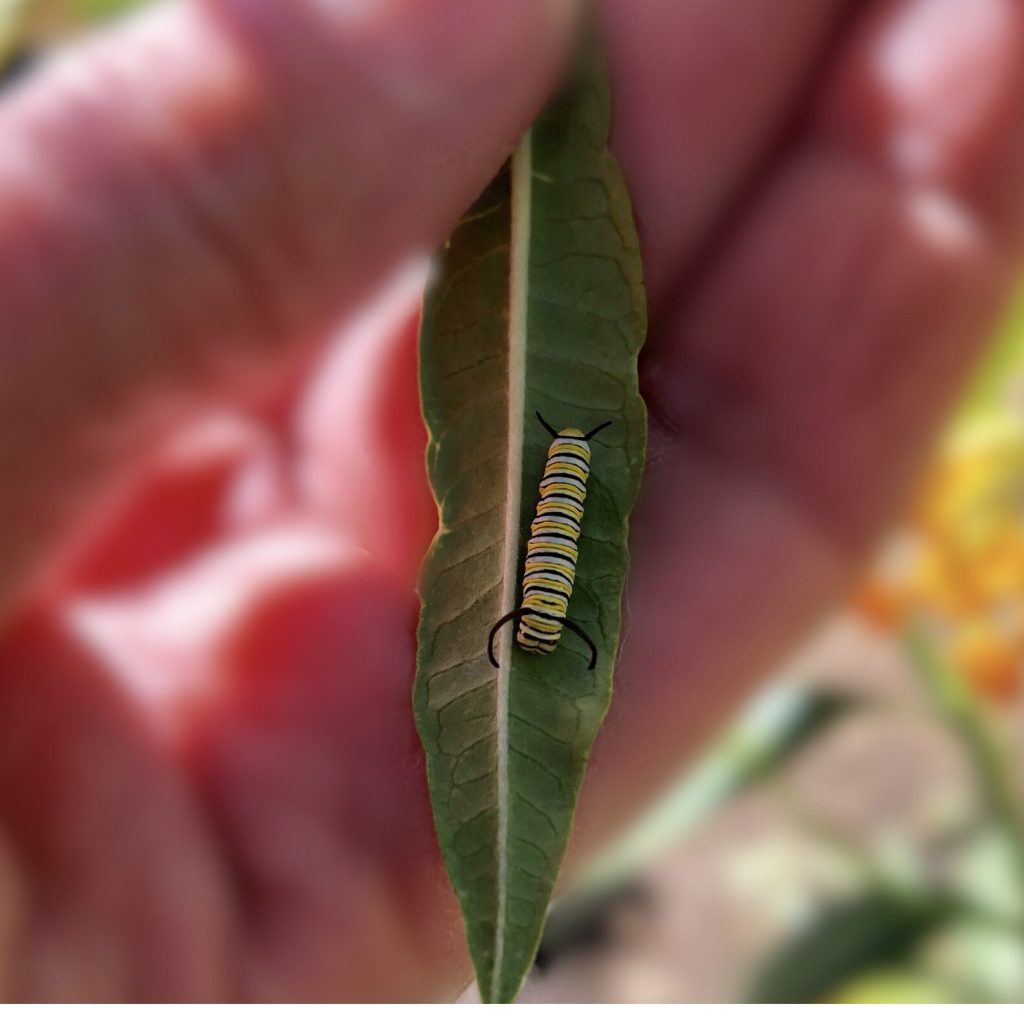
The Butterfly Effect at PCWD

Did you know that now is the time that the beautiful orange and black Monarch butterfly is laying eggs and baby caterpillars are starting to hatch? Many believe that butterfly bushes attract these majestic creatures and while they will feed from the butterfly bush nectar it is actually Milkweed that Monarch butterflies need to sustain life. To the Monarch the Milkweed plant is their home where mate, lay eggs and hatch baby caterpillars. It is the Milkweed plant that is the perfect nutrition for a baby caterpillar to eat and grow strong enough to cocoon and eventually become a beautiful monarch butterfly.

 We have lost much milkweed from the natural landscape with shifting land management practices. Planting milkweed is a great way to help other pollinators too because milkweed provides valuable nectar to many types of bees and butterflies. Planting milkweed will assist the monarch populations, and their incredible migration. Here at PCWD we have dedicated and entire planter to support the these beautiful butterflies.

Last year we started collecting Milkweed seeds from the plants we already had and were even donated some seeds from some of our very generous customers. We currently have a few variety’s of Milkweed blooming in while, yellow and orange in our Monarch garden. The Monarchs are loving the garden and everyday we are we are finding more eggs and newly hatched caterpillars. The caterpillars are growing at a rapid pace and before we know it we will have beautiful little cocoons all over the garden.

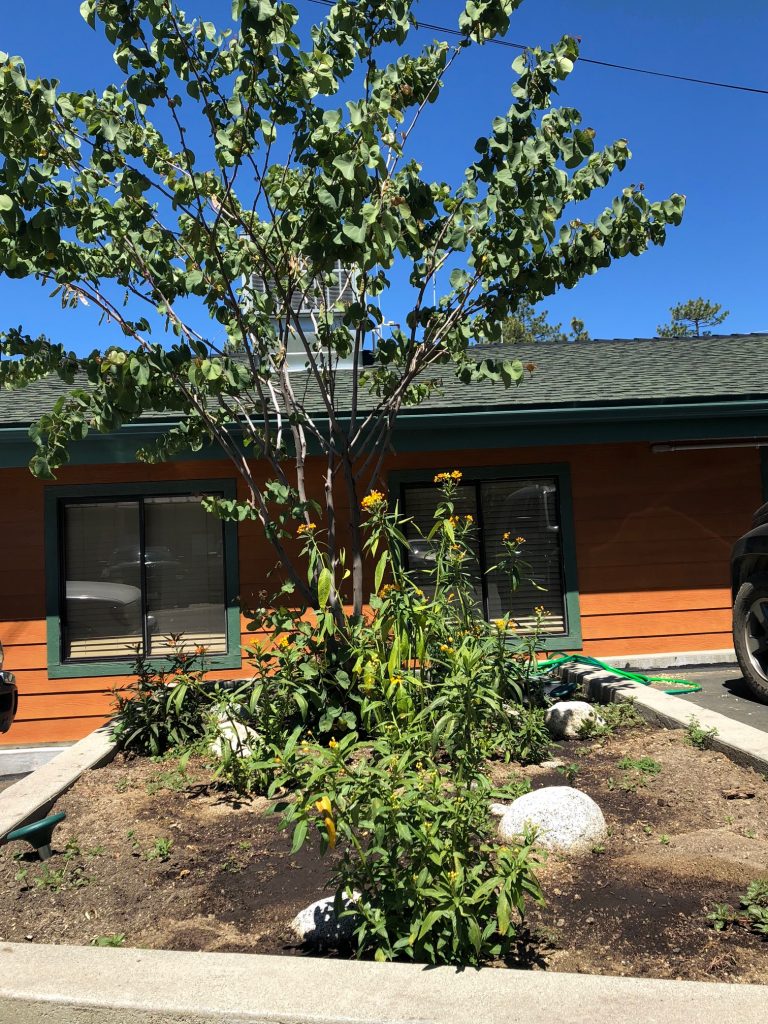
The Office Monarch Milkweed Garden
The majestic Monarch enjoying the Milkweed nectar and laying eggs on leaves.
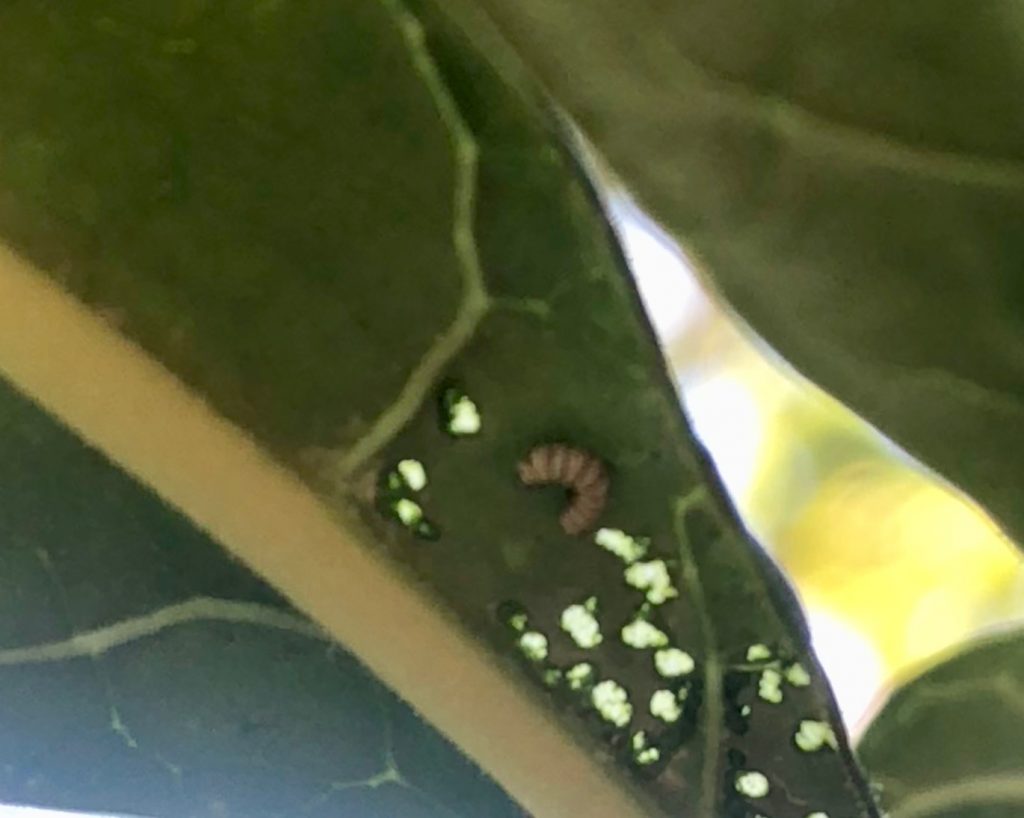
If you look closely you can see a little egg perfectly placed on the leaf.
Tiny little hungry caterpillar is snacking on the Milkweed and growing more everyday.
Black and yellow baby caterpillar.
This is the biggest baby we have found so far.

Stay tuned for more information, updates and pictures of our Monarch Milkweed Garden.

Posted in: Animals, Around the District, Company News, Garden, gardening, Monarch Butterflies, Pets and Animals, Raised Bed Gardens

Leave a Comment (0) →

Self Watering Raised Bed Gardens

In an effort to reduce water usage out of doors, but still be able to garden, one option is a self watering container.  They are an excellent choice because the water is contained under the plant and therefore does not evaporate and is available to the plant 24/7, which makes over or under watering impossible.  As long as the water reserve has water in it, the plant takes what it needs when it needs us and pretty much cuts the human out of the equation all together.  Which brings me to my next point.  Self watering containers free up your time.  Instead of being a slave to watering the garden, you just make sure the containers are kept full and that is all you have to do.  While you can use a drip or soaker system on a timer, these methods take more effort to install and the squirrels love to reek havoc on drip system parts.  Luckily, they cannot do much damage to a self watering container.

So if these self watering containers are so fabulous, why isn’t everyone using them?  Well, price is a big obstacle.  They are fairly expense when compared to other types of containers of a similar size.  Plus, what if you want to make a raised bed veggie garden for instance?  The amount of containers you would have to buy would be extensive.  So what is the solution?

A self watering raised be garden of course.  I found this video over at mylittlehomestead.com, where they show how they made a self watering raised bed garden using a 55 gallon drum cut in half.  Genius!  Why didn’t I think of that?  Here is the video.
 

I think this is a fabulous way to have your cake and eat it too. All the benefits of a raised bed garden combined with the benefits of a self watering container. What could be better? If you try this in your garden, let us know! Send us pictures or video and we will post it here on the blog. Also if you discover how to make any improvements to this design, let us know. I will be trying this in my own garden. I think it would be great.

Posted in: Edible Landscaping, From the Office, Garden, gardening, Raised Bed Gardens, Re-purposing, Recycling, The Garden, Water Conservation

Leave a Comment (0) →

Frugal Friday

Time for another Frugal Friday tip.  I have talked a lot about raised bed and container gardens.  But there is one other way to grow a few veggies or some flowers.  Window boxes.  Window boxes are a great way to grow cherry tomatoes, lettuces and other small or mini varieties of vegetables. They are also perfect for flowers and ivy and add a charm to your home that not much else can.   They are  also excellent for making an herb garden.  What could be better than the smell of mint or basil or rosemary wafting through your kitchen window from a window box full of herbs.  Plus your cooking will improve as you will be able to just walk outside and snip fresh herbs to add to your dishes.

Window boxes are very easy to make and you can use scrap wood you have laying around or can find cheaply.  Old fence boards, plywood and other things like dresser drawers, can all be used to make window boxes.  They can be as plain or as fancy as you like.  Add trim or appliques for a shabby chic look or leave them plain for a more rustic approach.  You can even buy them pre-made and just hang them.  There are as many styles as there are budgets. Let your imagination run wild and just remember to design them so that they will co-ordinate with your home’s décor.   Here are a few examples:

Shabby Chic window boxThis example is from the blog My Shabby Streamside Studio and was made from scrap wood.  An applique was added and then the whole thing was painted shabby chic white.  Plastic window boxes tucked down inside the wooden box,  hold a variety of plants and can be changed out from season to season.

Rustic window boxHere is an example of a rustic wooden window box that was hung on brackets.

Window Box CottagesAdorable cottage style window boxes on a shed give it charm.

dresser-drawer-window-boxesHow’s this for creativity?  Old dresser drawers make perfect window boxes!

I am sure if you do a quick search online, you can come up with many more ideas, especially on sites like Pinterest.  So why not go out and rummage around  in your garage or at the local thrift store and see what scrap wood you can come up with to   create some lovely and useful window boxes for your cabin, cottage or castle and then get planting!

Posted in: Customer Infomation, From the Office, Garden, Homesteading, Raised Bed Gardens, Re-purposing, Recycling

Leave a Comment (0) →
Frugal Friday

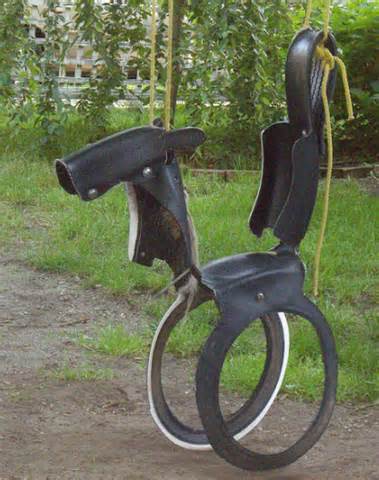
The cleverness and imagination of some people never ceases to amaze me.  I just love when someone finds a new use for an item that would otherwise end up in a landfill.  Take automobile or truck tires for instance.  We all have the odd friend, neighbor or relative that plunks an old tractor tire in their yard and plants flowers in it.  Some even go so far as to paint the tire first, and while there is nothing wrong with this as a tire is essentially a raised be garden,  you have to admit that they just aren’t that attractive.  To me, if I am going to upcycle something into my garden, it has to not only have a useful purpose, but it has to look good and add to the overall aesthetic of my garden.  After all, the whole point of upcycling is to give a new purpose and life to old items and create a unique and useful garden space.  Making your garden look like the neighborhood dump isn’t part of the plan!

With that in mind I set out in search of new uses for old tires.  I chose tires because they are easily available and most everyone has them or can get their hands on them and usually for free or very cheaply.  Plus unlike wooden items, they last for a very long time, so you don’t have to keep redoing them as they rot out.

One word of caution.  The jury is still out on whether or not it is safe to use old tires to grow edibles.  Here is an article about it and then you can do your own research and decide for yourself if you want to use them to grow edible crops or not.   However,   there are plenty of other things you can do with them and you can always plant other types of plants in them, such as annuals,  should you decide to use them for planters.

I thought these were adorable, although I am not sure if you can actually sit on them since the sign says “Please do not sit”.  But with a little imagination you could make them so that you can sit on them and I think they would be great for kids.

Tire Seats

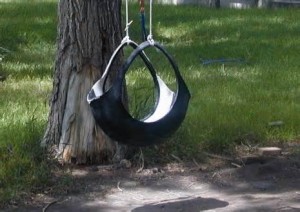
Of course, there is always the traditional tire swing.

tire swing 3

tire swing 4

tire swing 2

tire swing 1

How about a sandbox?

Tire Sand Box

A vinyl shower curtain or table cloth would be the perfect cover for this when it is not in use.

This is very clever.  Stair treads made from old tires.

Tire stair treds

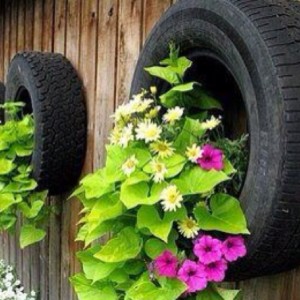
And of course, you can always make a hanging planter.

Tire Planters

Hopefully, this will give you some ideas to get your own creative juices flowing!  There are many more ideas and a quick Google search will yield lots more than I can put into a post.  If you do decide to use tires for growing edibles, there are some great tutorials on line for growing potatoes in tires, making raised bed gardens, planters and retaining walls.  The sky seems to be the limit with what you can do with old tires!  If you decide to give them a try, drop us an email and a picture of your project.  Send it to Vicki at pcwd . org.  Have fun!

Posted in: Frugal Friday, Garden, Raised Bed Gardens, Re-purposing, Recycling, The Garden, Upcycling

Leave a Comment (0) →
More Benefits of Raised Bed Gardens

We have already discussed some of the benefits of raised bed gardening, but today I would like to add a few more that you may not have thought about.  We know that a raised bed garden provides improved soil, easy access and simplified weed and pest control, but some other benefits include improved drainage and increased yields as well as all of the above mentioned benefits.

An obvious benefit of a raised bed garden is improved drainage. Since you are mixing the soil to your own specifications, you can create a fine loam regardless of the type of soil in your yard.  So you never have to worry about native soil that drains either too quickly or too slowly.

Another benefit of raised beds is an increased yield.  Raised beds warm up more quickly than does the surrounding soil, so that allows for planting earlier than you would in a traditional garden.  It is also easier to make a cover or cold frame for a raised bed garden, than it is for an in ground garden.  This allows you to create a mini greenhouse and gives you several weeks of addition garden time.

In addition, the light, un-compacted soil in a raised bed, improves the movement of both water and air allowing roots to spread out more easily to obtain nutrients and water.  This makes it possible to plant a raised bed more densely than one would in the same amount of space in a traditional garden.  This in turn translates into higher yields.  You are also able to plant more in a raised bed garden due to the fact that no space in the garden needs to be devoted to paths.

Overall, raised bed gardens are superior.  Their customized heights, shapes, sizes and the variety of materials used to build them, allow everyone to enjoy gardening, regardless of their budget, space, or physical condition.  They are easy to maintain and manage and have improved production.  They save space, time and money.  So why not give them a try in your yard?

raised bed garden

Posted in: Customer Infomation, Edible Landscaping, From the Office, Raised Bed Gardens, The Garden

Leave a Comment (0) →

Raised Bed Gardening

In a previous post, I talked about container gardening.  Containers are a great way to grow flowers, vegetables and herbs.  But perhaps you want something bigger or more permanent.  While you could buy a rototiller and start digging up your yard, a much better solution would be to install a raised bed garden.

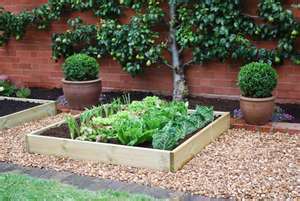
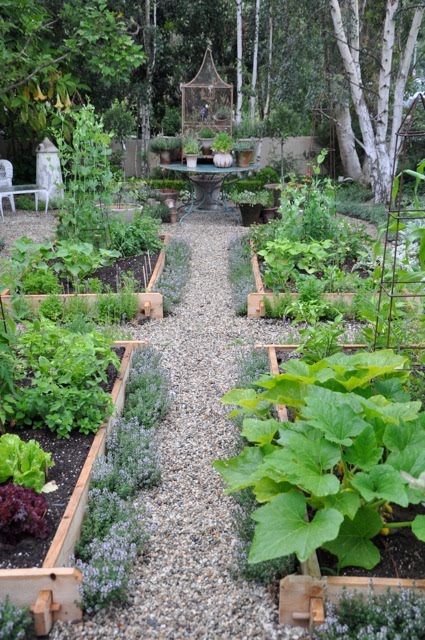
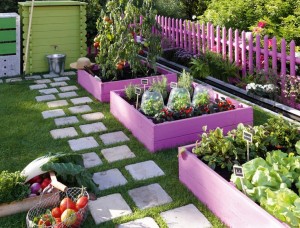
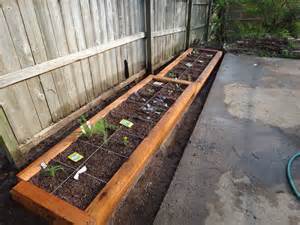
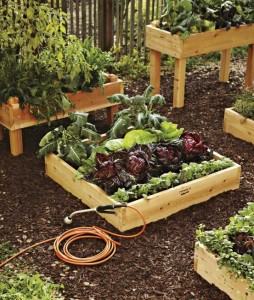
What is a raised bed garden?  Well it is very simple.   It is  a garden bed where the soil level is higher than that on the paths and yard around them.  They can be any size, shape or height that you desire and can even be built in a way that  makes them wheelchair accessible.  They can be built with a wide variety of materials and can be as spartan or as decorative as you wish.  You are only limited by your imagination.  Here are some great examples to get you thinking about what you could do in your own garden.

Stone Raised Beds

Raised beds made out of beautiful stone.

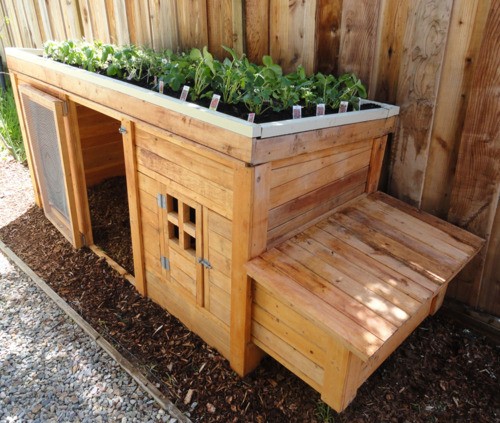
spaced_raised-garden-bed-with-chicken-coopRaised bed garden on top of a chicken coop!  This is a great idea.

Raised Bed Garden with Eating AreaAn enchanting raised bed garden.

Painted Raised Bed Garden

A colorful raised bed garden!  Kids would love to help you garden here.

Narrow Raised BedFitting a raised bed garden in along a fence line.

spaced_great-raised-vegetable-garden-beds

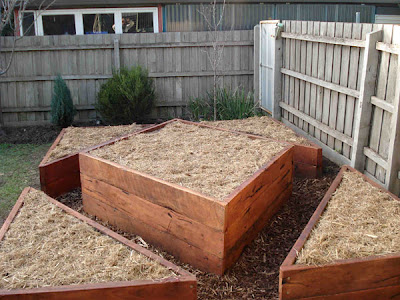
A raised bed garden with different sizes and heights.

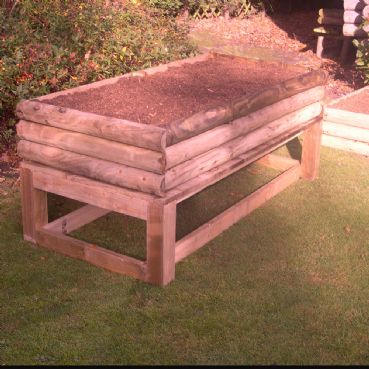
log raised bed gardednA rustic raised bed garden that would eliminate stooping!

Landscape Blocks Raised Beds

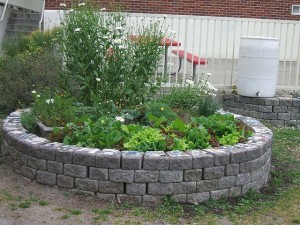
A round raised bed garden made out of landscaping stones.  Check out the rain barrel as well!

5bed-raised-garden-bedsCustom shaped raised beds.

key hole raised bed gardenA keyhole style raised bed with a trellis.  Great for a small space.
As you can see, there are endless ways to incorporate raised beds into your landscape, but  just what exactly are the benefits of raised bed gardening you may be asking?  Well, there are several.

First of all, and probably the most importing reason,  is the soil.  Since you will be filling the raised bed yourself, it becomes an opportunity to get high quality soil and a custom blend of fertilizer and amendments for your specific growing needs.  This is especially important if you live in an area with poor or rocky soil which would make digging up a garden difficult.  With a raised bed garden, there will be no digging,no rototilling or any other back breaking labor.  While the initial filling will involve a little work, once your bed is filled, it will only require once a year amending with a good compost.

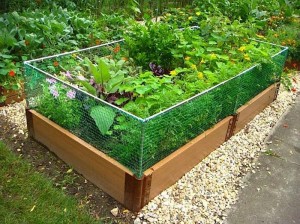
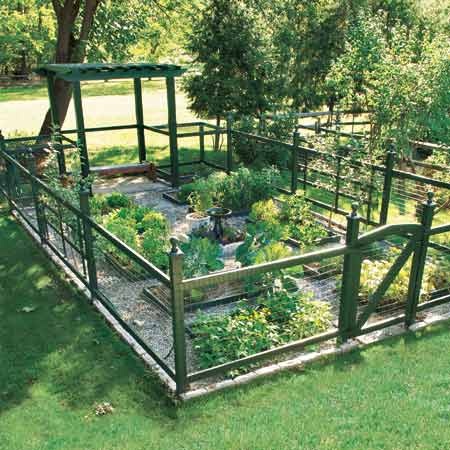
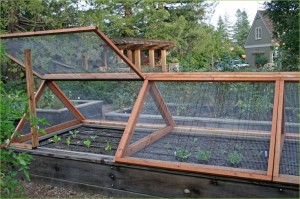
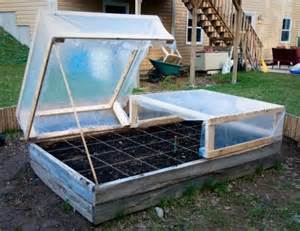
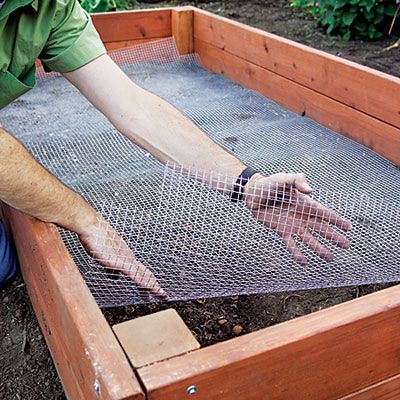
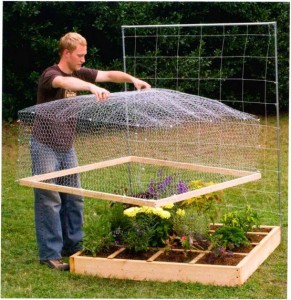
The second advantage to a raised bed garden is the ability to tailor it to your specific needs.  If you have a problem with critters digging from underground, you can put hardware cloth under your raised bed to thwart their activities.  A raised bed garden enables you to screen it in to protect it from birds, squirrels and other critters that would love to eat what you grow.  You can also extend your growing season with a raised bed garden by installing row covers or even adding a cold frame on top of your raised bed.  All of these things are easier to do  with a raised bed garden.  Here are some examples.

Lining a raised bedLining your raised bed with hardware cloth to prevent critters from digging in from underneath.

Critter proofing your raised bed

Wire frame to set over the raised bed garden to keep critters and birds out.

700_raised-garden-bed-rabbit-fence-jpeg

Fenced in raised bed to keep animals out.

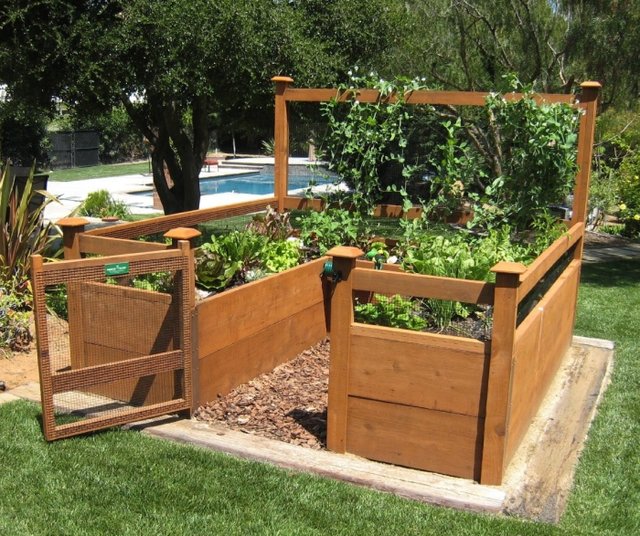
Enclosed Veggie GardenA totally enclosed raised bed garden.

Screens for raised beds

Raised bed garden with screened A frame.  Would be easy to throw plastic over this as well.

RB cold frame 1Plastic covered frames for raised bed garden act as a greenhouse.

RB cold frame 5

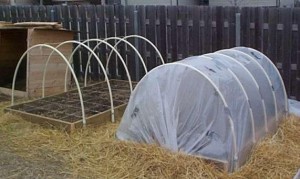
Hoop covers made from PVC pipe for raised beds.

RB cold frame 4

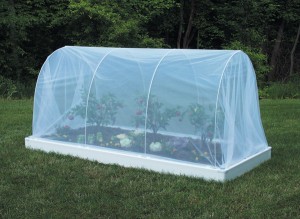
Enclosed raised bed garden.

RB cold frame 6

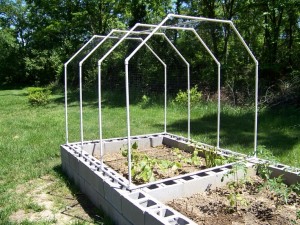
PVC pipe frame over a raised bed ready for plastic to be added.

So I think this gives you enough to think about for one post!  Next time I will discuss the drainage and yield aspects of raised bed gardens.  Stay tuned!

Posted in: Customer Infomation, From the Office, Homesteading, Raised Bed Gardens, The Garden

Leave a Comment (0) →