Author Archive

Snow Driving… Are You Prepared?

After this weeks great snowstorm, we are thankful for the precipitation. However, with the snow comes an increased risk of dangerous road conditions. Proper preparation and prevention for winter driving weather can help keep you safe.


When the threat of cold weather approaches it’s a good idea to give your car a good checkup to make sure it is winterized for the coming weather. Purchase snow tires or aggressive tires for good traction. Make sure you have the appropriate amount of antifreeze. Check that your headlights, tail lights and defroster are in good working condition. New windshield wipers and winterized wiper fluid will help ensure your windshield will stay free of rain show and debris. For inside preparation of your car keeping some essential items. Snow chains can come in handy and are sometimes necessary. Purchase a snow shovel and kitty litter or sand for digging yourself out of a jam and giving your vehicle traction. Flares, a flashlight and a snow scraper should also be kept in your car in case an emergency situation arises. Proper visibility is essential before you even attempt to venture out in the snow. Make sure your car is clear of all the snow, including the roof.

Just because you have all-wheel-drive or four-wheel-drive vehicles doesn’t make you unstoppable during winter driving. Four-wheel-drive and all-wheel-drive can greatly assist you to get going in snow and ice, plus provide extra control when turning. However, they won’t help you stop much faster than a front- or rear-wheel-drive car when you hit that patch of black ice.
Many experts suggest driving super-smoothly in the winter, as if though you don’t have brakes at all, since you don’t know whether you’ll have any grip for braking when you need it. If you have a 2WD vehicle it is imperative to use your chains while driving in snow, slush or ice.

It is best to use the highest precautions when driving on winter roads. When the roads are icy or snowy drive slow enough to have control of your vehicle is safest for you and other drivers. Do not stop and loose momentum while going up hill. Keep a double safe distance between you and the driver in front of you. Remember, it can take up to 10 seconds more to stop your vehicle on winter roads, so don’t ride to close and don’t slam on your brakes.

If you find yourself in a situation where you need chains please get to a safe place to put your chains on.

Posted in: Uncategorized

Leave a Comment (0) →


EWNS Early Warning Notification System

Did you know that Riverside County offers an emergency telephone alerting system? When disasters occur that are unknown to you, REVERSE 911 calls you. Early Warning Notification System (EWNS) allows public safety first responders to rapidly alert and warn the general public in the event of emergencies.

The EWNS is one of a group of alert warning tools used in Riverside County. Any Business or residence in Riverside county that has traditional land line phone service (listed or unlisted) is already a part of the EWNS. Cell phones or VoIP numbers have to be registered to receive these emergency alerts. Just visit Riverside County’s secure website homepage: www.countyofriverside.us and add the number you would like to be notified by.

The EWNS can make up to 250,000 calls per hour to reach the public of Riverside County. Registered phone numbers will be notified in the event of a small, medium or large emergency. It is important for us to get the notification as soon as possible in the event of a wildfire, flood, severe weather, hazardous material warning, law enforcement incidents, etc. Having an early warning can help keep you and your loved ones safe and informed about potential dangers in our community.

Posted in: Uncategorized

Leave a Comment (0) →
PCWD Winter Reminder

The winter weather we have been experiencing can cause frozen, leaky or burst pipes. We advise all of our customers to turn your customer valve off by the meter when you leave your mountain home. Forgetting to turn off your water during the winter season increases the risk for burst pipes and damage to your home. When water freezes in a pipe, it expands. If it expands enough, the pipe bursts, water escapes and serious, costly damage is the result. If you don’t know where your customer valve is we would be happy to send a field worker during regular office hours to come show you or if you need your customer valve shut off we can shut it off for you for a $15 service charge. In the unfortunate event that a pipe does break any and all water that is lost will be the responsibility of the homeowner. PCWD does not forgive any water usage even if it is from a burst pipe. As always feel free to contact to office for any questions or concerns regarding your water bill, usage or winterizing your home.

PCWD Office: (951)659-2675

Emergency after hours: (951)294-8282

Posted in: Uncategorized

Leave a Comment (0) →
Wildfire Preparedness

Build an Emergency Evacuation Kit, which includes items like non-perishable food, water, a battery powered or hand crank radio, extra flashlights and batteries.  You may want to prepare a portable kit and keep it in your car.  The kit should include:

Copies of prescription medications; Cell Phone chargers; Bedding/clothing, including sleeping bags & pillows;  Bottled water; battery operated radio/extra batteries; first-aid kit; flashlight; Copies of important documents, like your drivers license, SS card, PROOF OF RESIDENCY, insurance policies, wills, deeds, birth and marriage certificates, etc.; Pre-pack non-replaceable, personal items that you can quickly move to a vehicle if you are instructed to evacuate.

PREPARE YOUR HOME
Protect your property from wildfires by designing and landscaping your home with wildfire safety
in mind.
Select materials and plants that can help contain fire rather than fuel it.
Use fire resistant or non-combustible materials on the roof and exterior structure of the dwelling.
Treat wood or combustible material used in roofs, siding, decking or trim with UL-approved fire retardant chemicals.
Plant fire-resistant shrubs and trees. For example, hardwood trees are less flammable than pine,
evergreen, eucalyptus or fir trees.
Regularly clean roof and gutters.
Inspect chimneys at least twice a year. Clean them at least once a year. Keep the dampers in good
working order. Equip chimneys and stovepipes with a spark arrester that meets the requirements of
National Fire Protection Association Code 211. (Contact your local fire department for exact
specifications.)
Use 1/2-inch mesh screen beneath porches, decks, floor areas and the home itself. Also, screen
openings to floors, roof and attic.
Install a smoke detector on each level of your home, especially near bedrooms; test monthly and
change the batteries at least once each year.
Keep a ladder that will reach the roof.
Consider installing protective shutters or heavy fire-resistant drapes.
Keep handy household items that can be used as fire tools: a rake, axe, handsaw or chainsaw,
bucket and shovel.
Have a garden hose that is long enough to reach any area of the home and other structures on the
property.
Install freeze-proof exterior water outlets on at least two sides of the home and near other
structures on the property. Install additional outlets at least 50 feet from the home.
Consider obtaining a portable gasoline-powered generator in case electrical power is cut off.

Create a 30- to 100-Foot Safety Zone Around Your Home:

  • Within this area, you can take steps to reduce potential exposure to flames and radiant heat.
  • Homes built in pine forests should have a minimum safety zone of 100 feet. If your home
    sits on a steep slope, standard protective measures may not suffice. Contact your local fire
    department or forestry of fire for additional information.
  • Rake leaves, dead limbs and twigs. Clear all flammable vegetation.
  • Remove leaves and rubbish from under structures and dispose of them properly.
  • Thin a 15-foot space between tree crowns, and remove limbs within 15 feet of the ground.
  • Remove dead branches that extend over the roof.
  • Prune tree branches and shrubs within 15 feet of a stovepipe or chimney outlet.
  • Ask the power company to clear branches from power lines.
  • Clear a 10-foot area around propane tanks and the barbecue. Place a screen over the grill—
    use non-flammable material with mesh no coarser than one-quarter inch
  • Regularly dispose of newspapers and rubbish at an approved site. Follow local burning
    regulations.
  • Place stove, fireplace and grill ashes in a metal bucket, soak in water for two days, then
    bury the cold ashes in mineral soil.
  • Store gasoline, oily rags and other flammable materials in approved safety cans. Place cans
    in a safe location away from the base of buildings.
  • Stack firewood at least 100 feet away and uphill from your home. Clear combustible material within 20 feet. Use only UL-approved wood-burning devices.

MAKE A PLAN!

Talk to your family, make a plan!  Decide where to meet, where to stay, where you are going.  If you do not have a car, make a plan ahead of time…ask a friend or a neighbor ahead of time, if you can ride off the hill with them.   If you have a car, keep 1/2 tank of gas in it at all times.  If the power goes out, the stations can’t pump gas…not without a generator.

MAKE A PLAN FOR YOUR PETS.

PETS

  • Plan ahead. Know where you will take or leave your pets. In case you are not home when disaster strikes, arrange in advance for a neighbor to check on or transport your pets. Make sure your neighbors have your contact numbers (cell phone, work, home, etc.). In the event of evacuation pets may not be allowed inside human emergency shelters – have an alternate prearranged location to take your animals.
  • Make sure your pets are always wearing properly fitted collars with personal identification, rabies and license tags.
  • Each animal should have it’s own pet carrier. Birds, rodents and reptiles should be transported in cages. Cover cages with a light sheet or cloth to minimize their fear.
  • Store vaccination/medical records, veterinary contact information, proof of owner- ship, a current photo, and a Disaster Preparedness Kit in one location.

Pet Disaster Preparedness Kit

  • Pet carrier for each pet
  • Two week supply of food and water
  • Non-spill food and water bowls
  • Pet first-aid kit
  • Medications and dosing instructions
  • Car litter box and litter
  • Plastic bags for waste disposal
  • Paper towels
  • Disinfectants
  • Leashes/collars/harnesses
  • Blankets
  • Toys and treats
  • Newspaper

IF YOU MUST LEAVE YOUR PET

  • If you must leave your pets, bring them indoors. Never leave pets chained outdoors!
  • Use a room with no windows and adequate ventilation, such as a utility room, garage, bathroom, or other area that can be easily cleaned. Do not tie pets up!
  • Leave only dry foods and fresh water in non-spill containers. If possible open a faucet to let water drip into a large container or partially fill a bathtub with water.

Posted in: Uncategorized

Leave a Comment (0) →
Cranston Fire

Well, we all made it!  The Cranston fire tried hard to come over the ridge, but the fire fighters were able to keep it away!  It’s ironic that we had already prepared to send you Evacuation information from CalFire, when the fire hit and we were evacuated.  We feel that you’ll still find it useful, in preparation for the next time we have to be evacuated.  You’ll also see a letter from the General Manager.  Please read it.  And for those of you that are interested, we have our monthly board meeting tomorrow morning, 8/8/2018, at 10:00 in the board room at PCWD.  The public is invited to attend.

We want to remind everyone that the due date for the billing has changed!  It is no longer due on the 25th of the month.  It has been extended to the 1st of the following month, giving you more time to pay your bill.  Late fee’s will be assessed after the 1st of the month, if not paid.

Another reminder that we have moved into Stage 2 water restrictions.  Please restrict your watering to the hours of 6:00 pm to 8:00 am.  We offer free wood chips and compost to our customers!  Please take advantage while you can.

Posted in: Uncategorized

Leave a Comment (0) →
New Due Date for payments

A new due date has been approved and adopted by the Board of Directors.  Effective 8/1/2018, the new due date for payments will be the 1st of the month following billing (1st of the odd months).  A late fee of $15.00 will be added to the account if it is not paid in full by that date.

If account remains unpaid for 15 days after the 1st of the odd month, water service will be disconnected, and a disconnection fee of $75.00 will be added to your account.  All fees and amounts due will need to be paid in full to get water restored.


Posted in: Uncategorized

Leave a Comment (0) →
Stage 2 Water Conservation – Effective 6/1/2018

Effective 6/1/2018, we will be moving into Stage 2 Water Conservation.  We really had no winter to speak of, and want to conserve now, so we have water in the future.  Our customers do an excellent job of conserving, and we appreciate all of your efforts!  Please remember that the District offers free compost and wood chips to help with your efforts.  Contact the office for more information.

Posted in: Uncategorized

Leave a Comment (0) →
Change to Water Rates

The following Resolution was passed unanimously by the Board of Directors of Pine Cove Water District:


PINE COVE WATER DISTRICT

RESOLUTION #529


THIS RESOLUTION CONTAINS THE COMBINATION OF ALL SPECIAL RATES AND WATER RATES, INCLUDING RESIDENTIAL, COMMERCIAL, MOBILE HOME PARKS AND CAMPS.

IT IS HEREBY RESOLVED BY THE PINE COVE WATER DISTRICT BOARD OF DIRECTORS THAT THIS RESOLUTION SUPERSEDES RESOLUTION #504.

THESE CHARGES WILL GO INTO EFFECT ON June 1, 2018


RESIDENTIAL AND COMMERCIAL


Effective 6/1/2018, the Bi-monthly minimum charge, based on actual cost will be $65.00 for two-month billing period, excluding any water usage.  Water usage will be billed as follows:


$ 3.00 per thousand gallons from 0 to 7,500 gallons

$ 5.00 per thousand gallons from 7,500 to 15,000 gallons

$ 7.00 per thousand gallons over 15,000


Effective 4/1/2019, the Bi-monthly minimum charge will be $68.00 for two month billing period, excluding any water usage.  Water usage will be billed as follows:


$ 4.00 per thousand gallons from 0 to 7,500 gallons

$ 6.00 per thousand gallons from 7,500 to 15,000 gallons

$ 8.00 per thousand gallons over 15,000


Effective 2/1/2020, the Bi-monthly minimum charge will be $71.00 for two month billing period, excluding any water usage.  Water usage will be billed as follows:


$ 5.00 per thousand gallons from 0 to 7,500 gallons

$ 7.00 per thousand gallons from 7,500 to 15,000 gallons

$ 9.00 per thousand gallons over 15,000


Effective 2/1/2021, the Bi-monthly minimum will be $74.00 for two month billing period, excluding any water usage.  Water usage will be billed as follows:


$  6.00 per thousand gallons from 0 to 7,500 gallons

$  8.00 per thousand gallons from 7,500 to 15,000 gallons

$10.00 per thousand gallons over 15,000


Effective 2/1/2022, the Bi-monthly minimum will be $77.00 for two month billing period, excluding any water usage.  Water usage will be billed as follows:


$  7.00 per thousand gallons from 0 to 7,500 gallons

$  9.00 per thousand gallons from 7,500 to 15,000 gallons

$11.00 per thousand gallons over 15,000 gallons


Effective 2/1/2023, the Bi-monthly minimum will be $80.00 for two month billing period, excluding any water usage.  Water usage will be billed as follows:


$  8.00 per thousand gallons from 0 to 7,500 gallons

$10.00 per thousand gallons from 7,500 to 15,000 gallons

$12.00 per thousand gallons over 15,000

Posted in: Uncategorized

Leave a Comment (0) →
Notice of Public Hearing on Proposed Water Rates (Proposition 218 Alternative Increase)


 NOTICE OF PUBLIC HEARING ON

PROPOSED WATER RATES

(Proposition 218 Notification)

Date:  Wednesday, May 9, 2018

Time:  10:00 am

Location:  24917 Marion Ridge Drive, Idyllwild CA 92549


The original Notice of Public Hearing on the Proposed Water Rates was mailed on March 19, 2018.  Last week, at our regular scheduled Board of Directors meeting on 4/11/2018, I presented an alternative plan on the proposed water rate increase.  Why?  Because I heard from a few of our customers that the first years hike was too much of an increase, in their opinion.  Many thought it would be better if averaged over the entire five years.  So, below is the new residential chart with the Fixed Cost averaged out over the entire 5 year period:


Fields that are highlighted are the changed amounts.


Residential Fixed:


Year Meters Bi-Monthly Incr. Actual/Yearly Yearly Income
2018 (now) 1103 $62.00/$372 $410,316
2018 1105 $3.00 $65.00/$390 $430,950
2019 1107 (estimate) $3.00 $68.00/$408 $451,656
2020 1109 (estimate) $3.00 $71.00/$426 $472,434
2021 1110 (estimate) $3.00 $74.00/$444 $492,840
2022 1111 (estimate) $3.00 $77.00/$462 $513,282
2023 1112 (estimate) $3.00 $80.00/$480 $533,760


Also discussed was the variable cost.  Instead of increasing it from $1.80/1000 gallons to $4.00/1000 gallons, the first year, we would only raise it to $3.00/1000 gallons, and then spread the remaining increase over 5 y ears.  See the revised chart below:


Variable Costs:


93% of our customers fall into Tier 1 and Tier 2.  We propose changing Tier 1 from 6000 gallons to 7500 gallons, and Tier 2 from 12,000 gallons to 15,000 gallons.  Tier 3 will apply to all water over 15,000 gallons, and we will eliminate the current Tier 4.


Current Tiers & Price New Tiers 2018 2019 2020 2021 2022 2023
0-6000/$1.80 0-7500 $3.00 $4.00 $5.00 $6.00 $7.00 $8.00
6-12000/$3.10 7500-15000 $5.00 $6.00 $7.00 $8.00 $9.00 $10.00
12-18000/$4.40 Over 15000 $7.00 $8.00 $9.00 $10.00 $11.00 $12.00
Over 18,000/$7.40


Please remember all cost breakdowns were determined by the Districts Engineer, John Egan, of Engineering Resources of Southern California.  I believe the Board of Directors were very satisfied and will be willing to adopt this new plan of averaging cost over the 5 year period.


If you should have any questions, or comments, please contact

Jerry Holldber, General Manager   or stop by the office.

Pine Cove Water District

24917 Marion Ridge Dr.

PO Box 2296

Idyllwild, CA 92549-2296

951-659-2675(office)

951-659-3112 (fax)

Posted in: Uncategorized

Leave a Comment (0) →
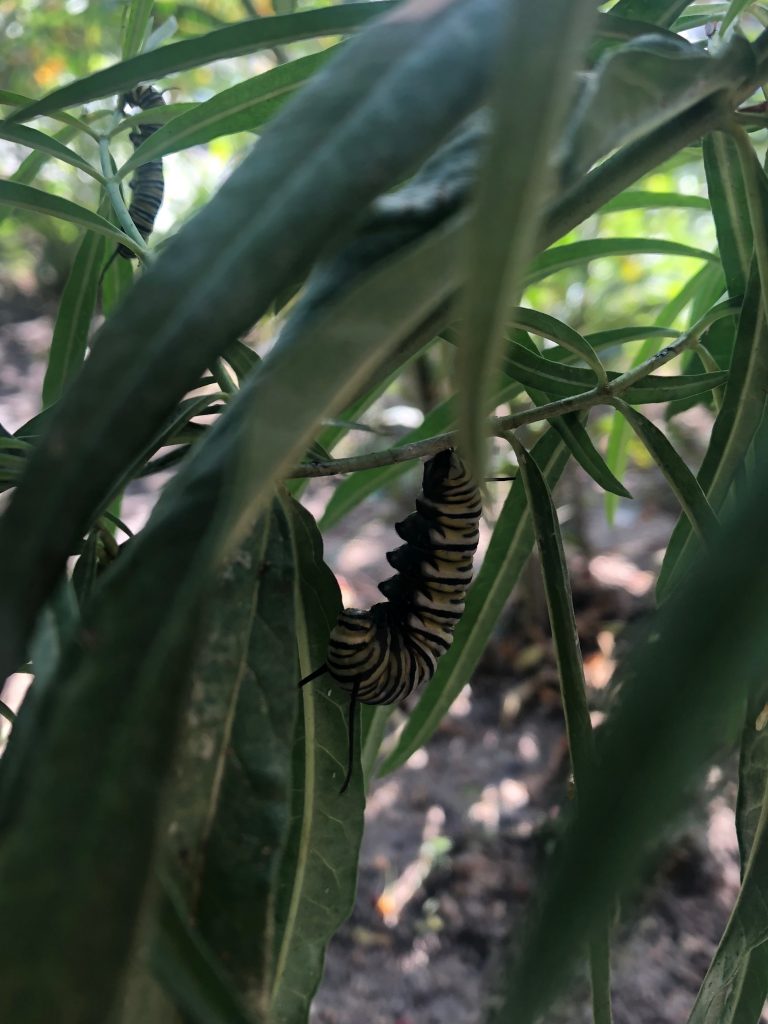
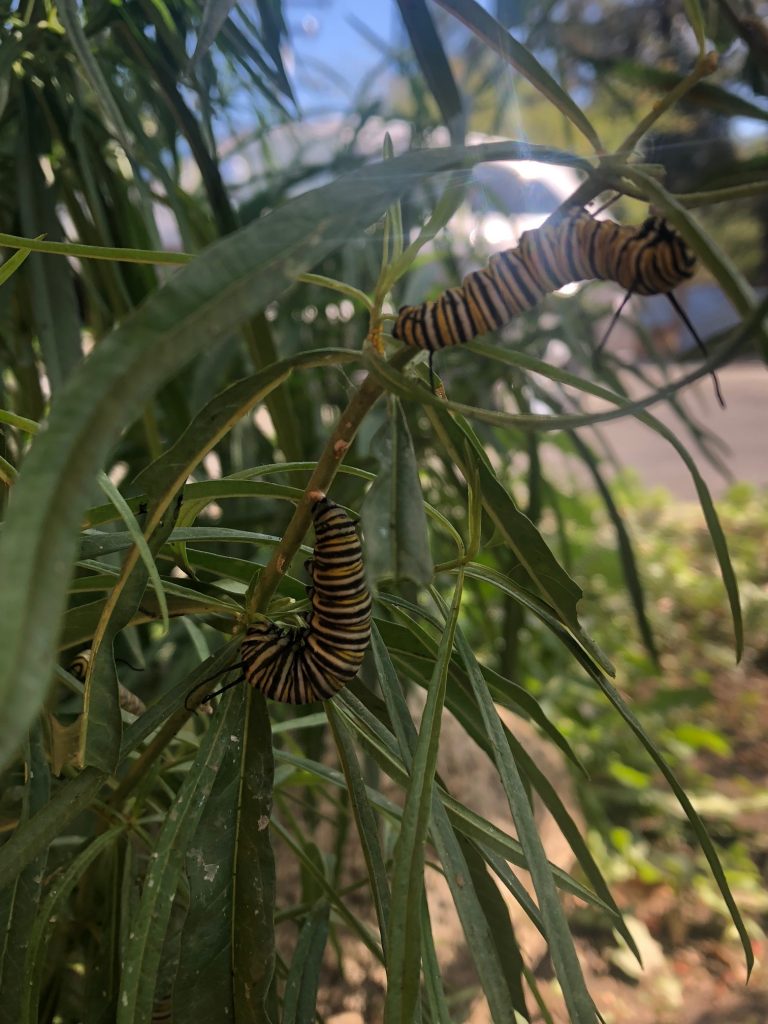
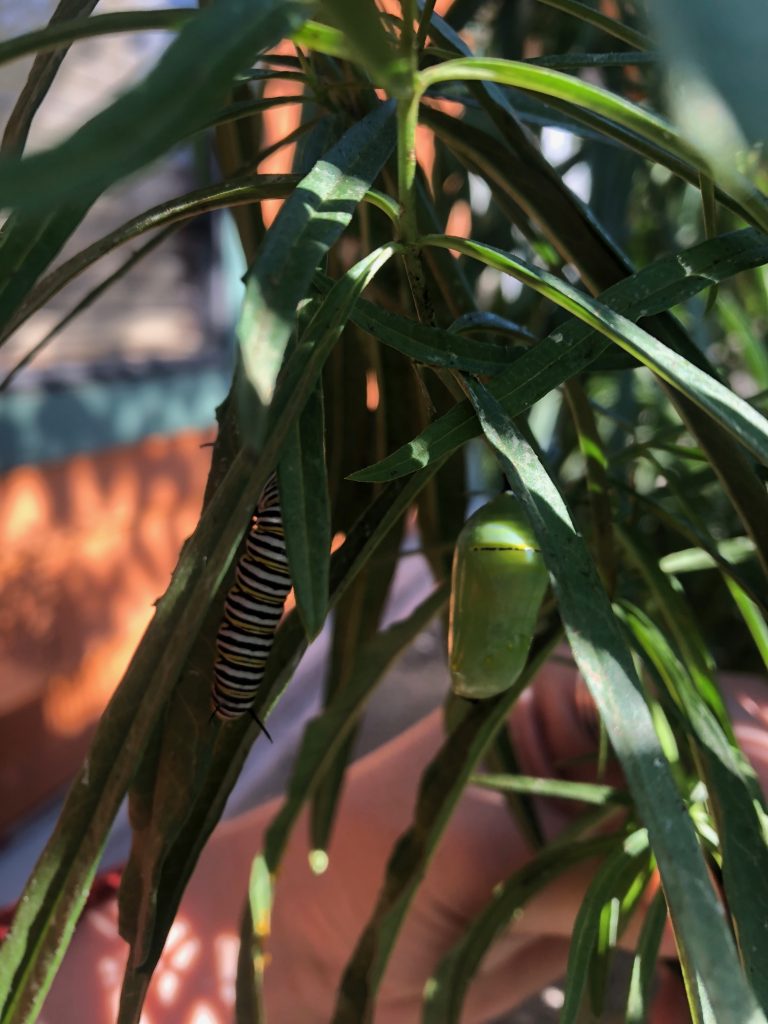
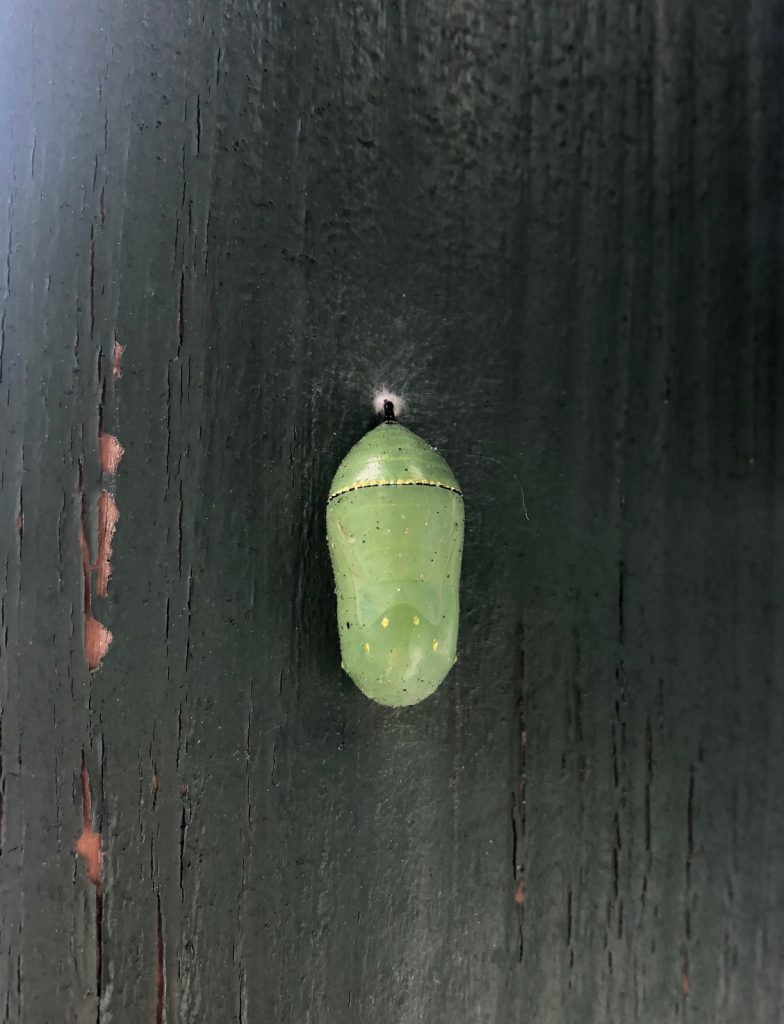
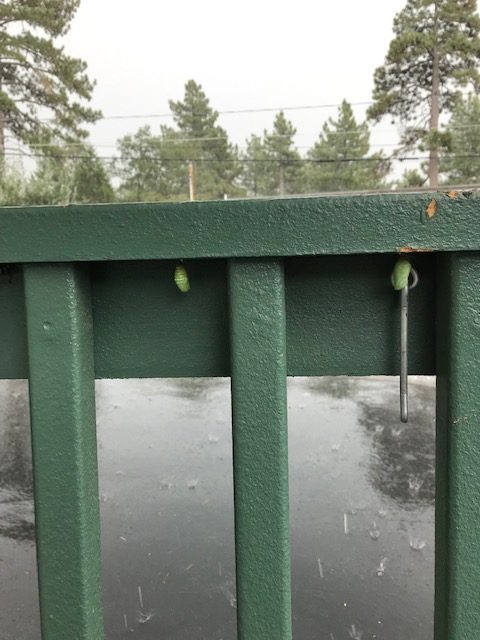
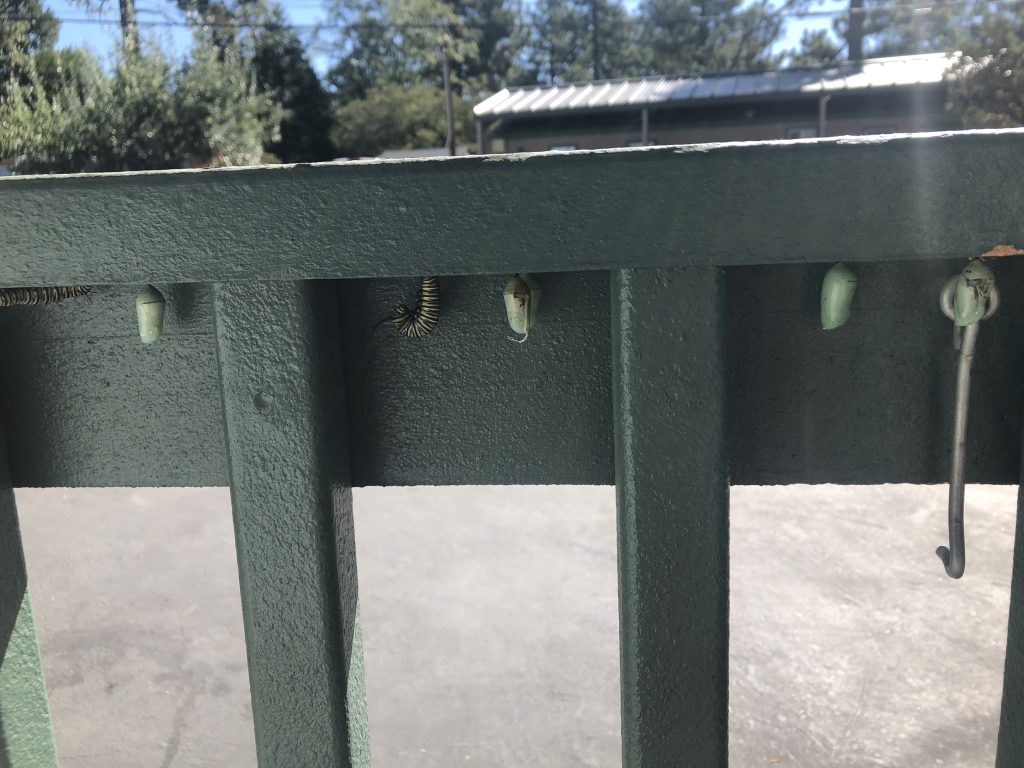
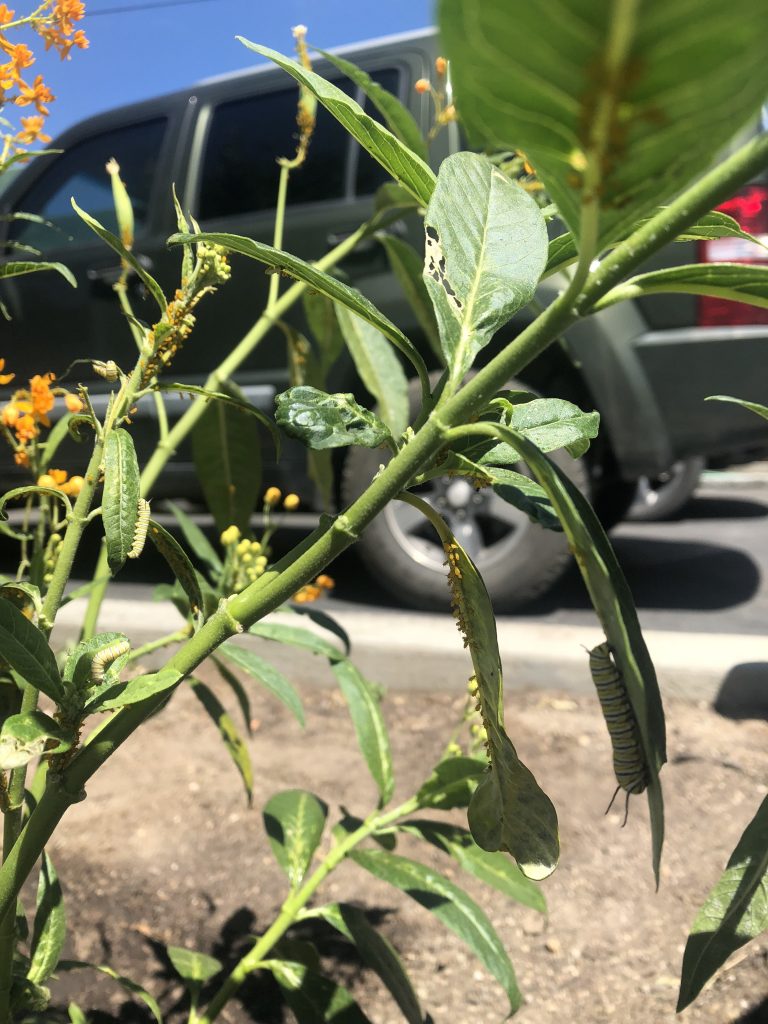
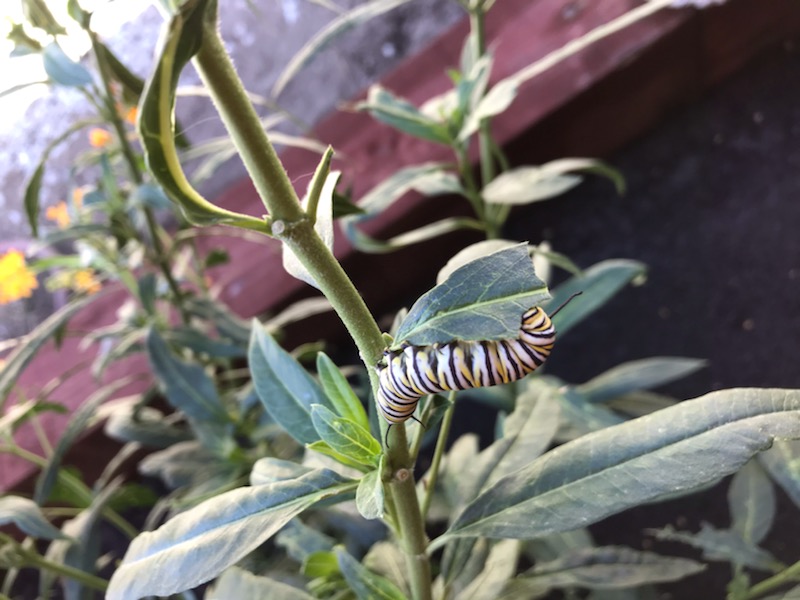
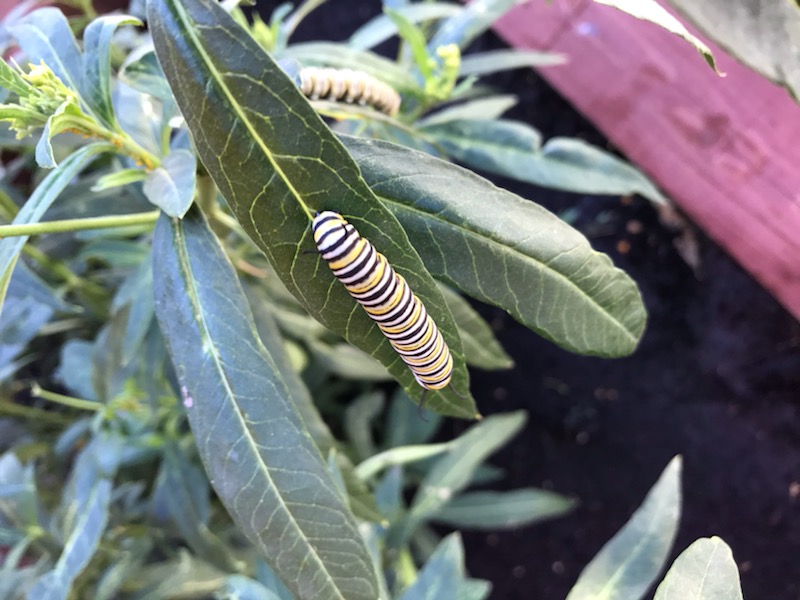
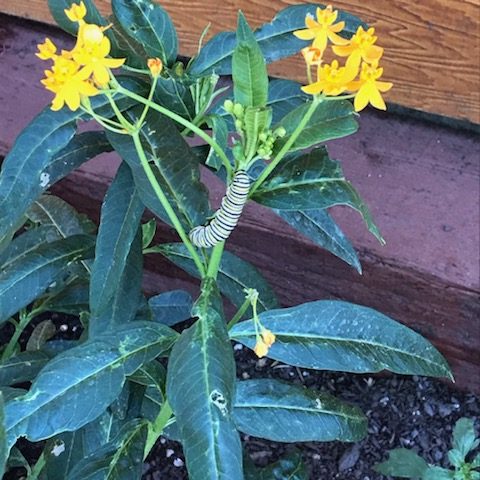
Create a habitat for Monarch Butterflies with milkweed


Help Create Habitat for Monarch Butterflies

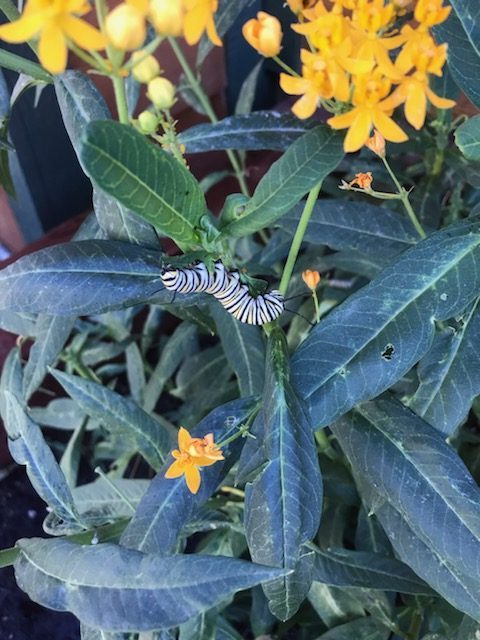
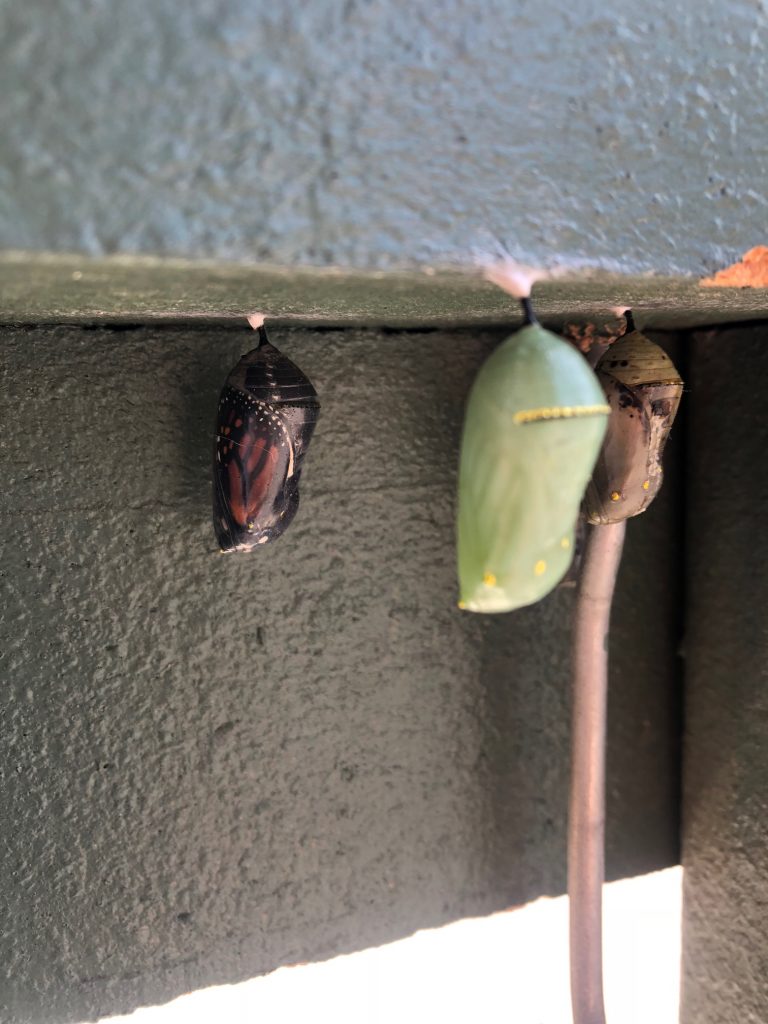
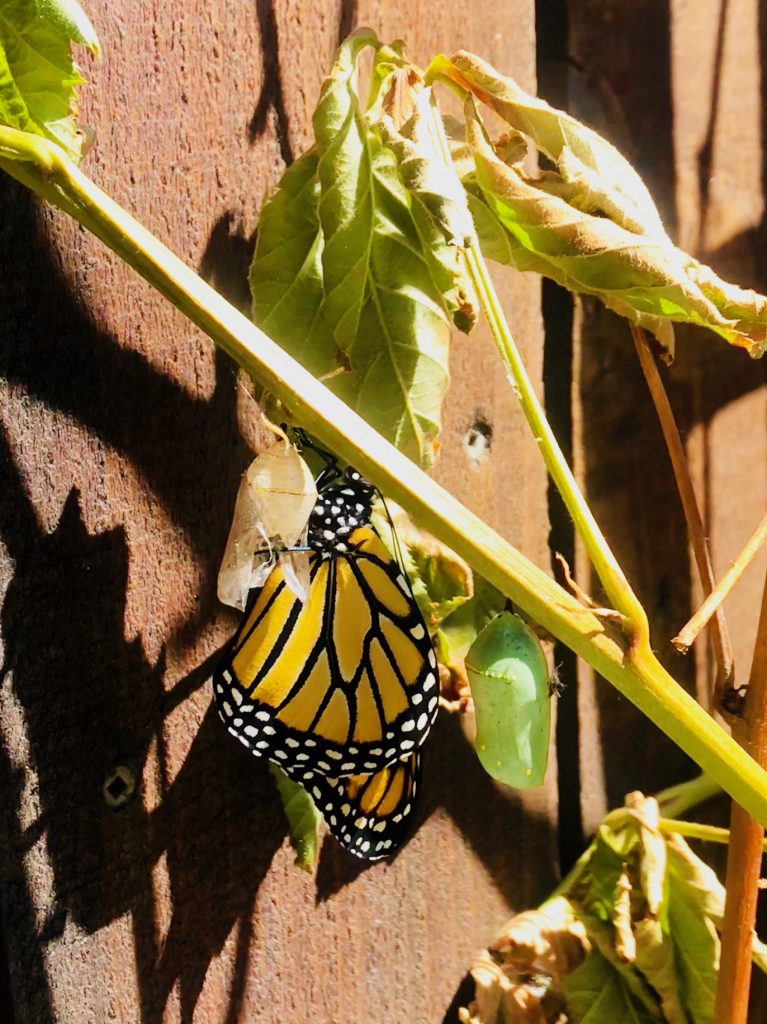
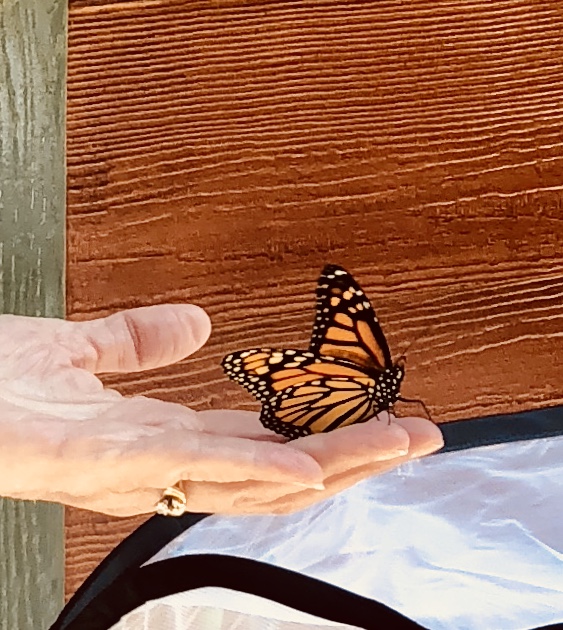
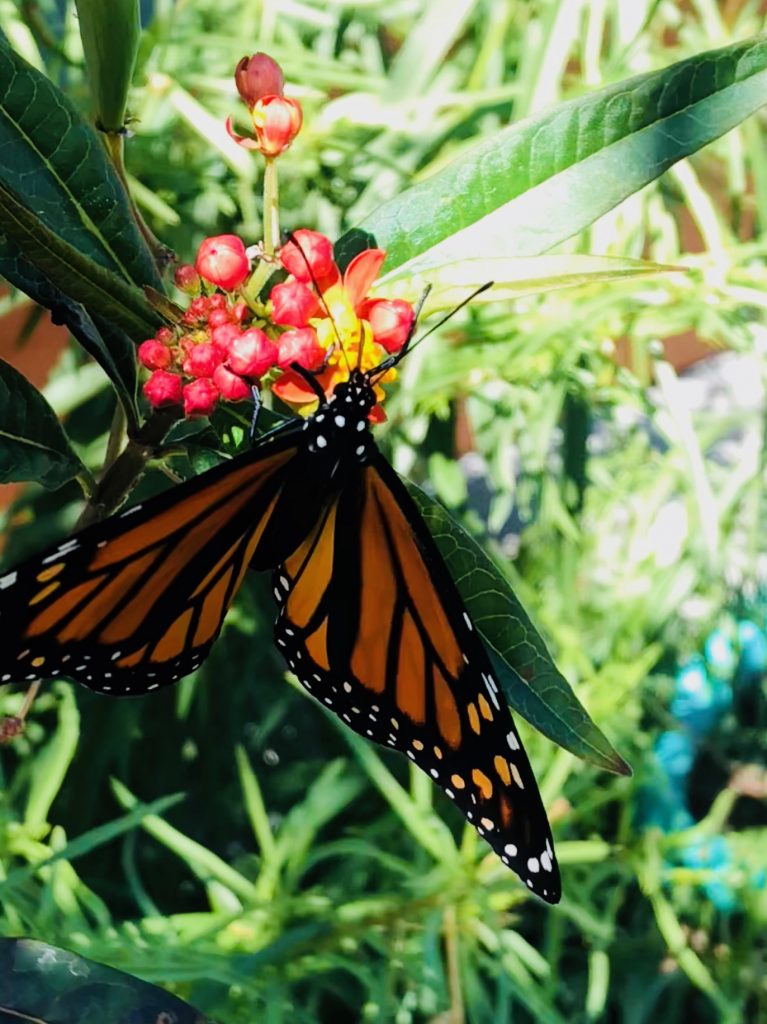
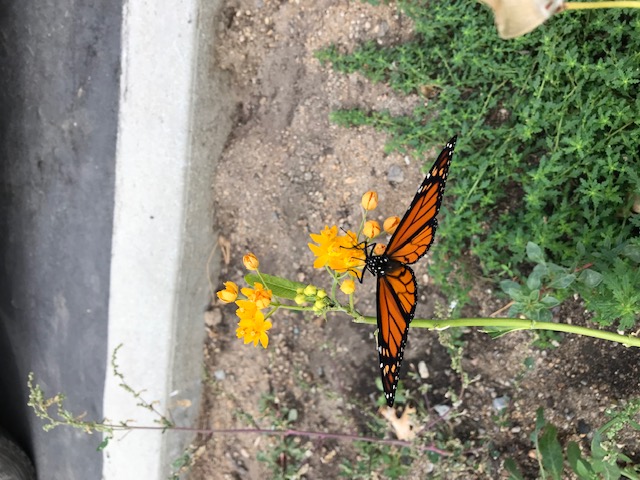
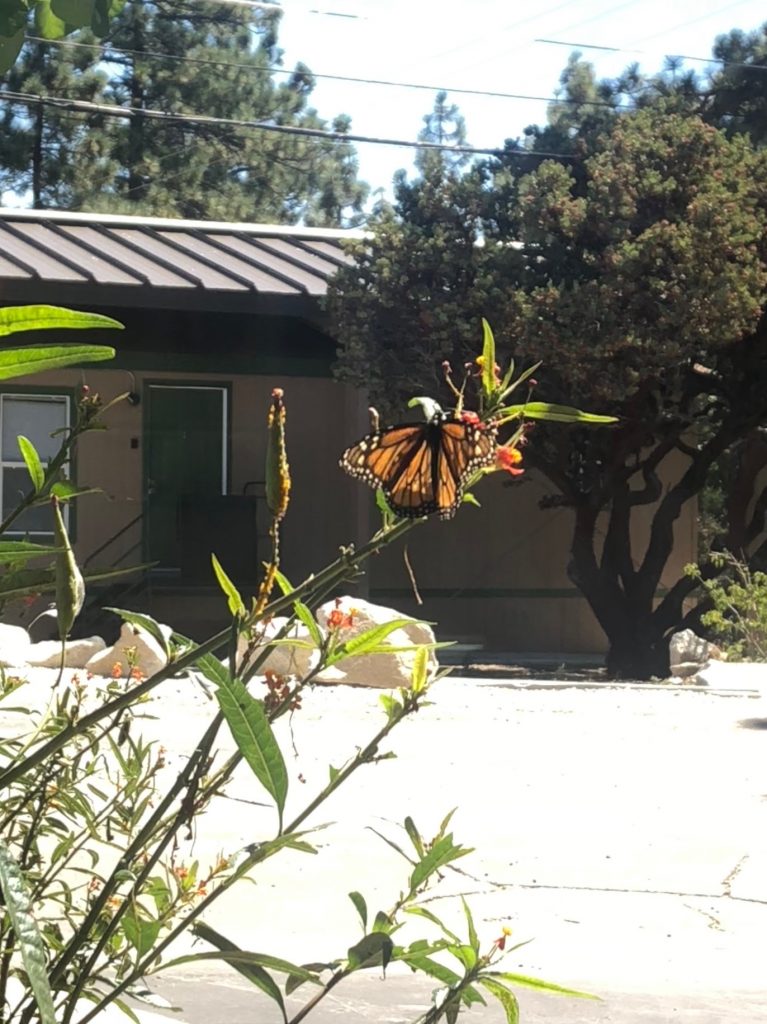
One of the many wonderful things we get to experience in this beautiful mountain town is all the wild life. I love spring time and seeing the beautiful butterflies touch down in my garden is magical. While butterfly bushes do attract these majestic creatures, it is actually milk weed where Monarch butterflies call home, mate and lay their eggs.

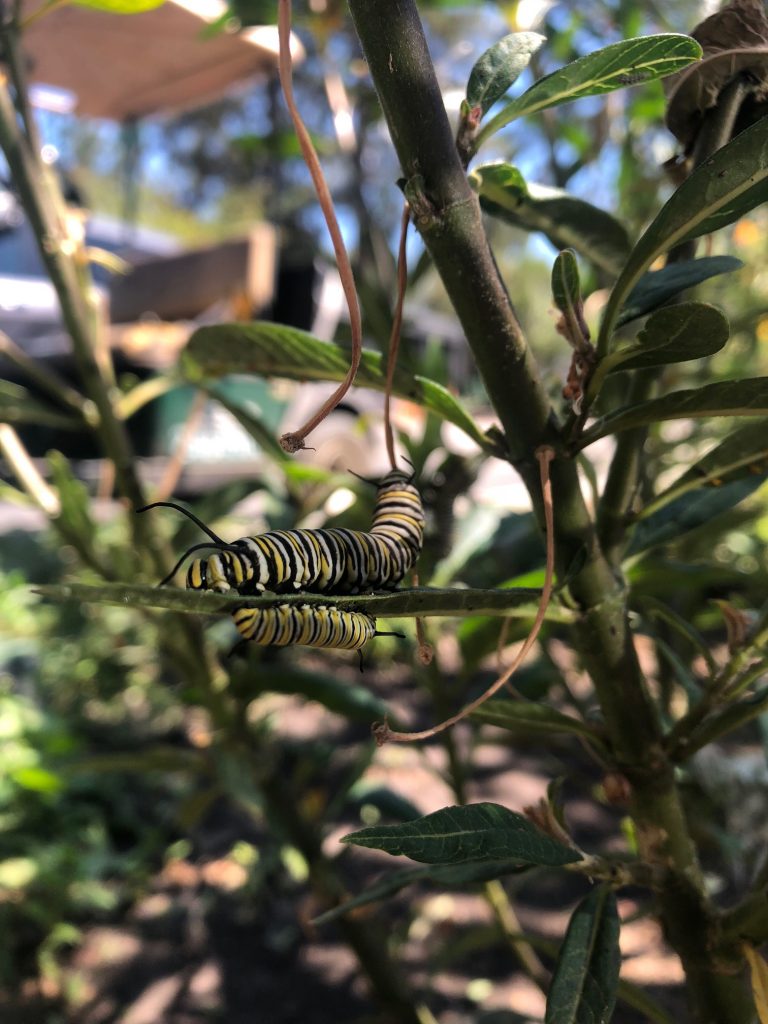
Planting milkweed will support the monarch populations, and their incredible migrationMonarchs cannot survive without milkweed. Monarch butterflies need milkweed to lay their eggs and the caterpillars of these butterflies only eat milkweed plants. We have lost much milkweed from the natural landscape with shifting land management practices. Planting milkweed is a great way to help other pollinators too because milkweed provides valuable nectar to many types of bees and butterflies.

Adult monarchs will drink the nectar of milkweed and many other flowers. In fact, they need sources of nectar to nourish them throughout the entire growing season. Include a variety of native flowering species with different bloom times to provide monarchs with the food they need to reproduce in the spring and summer and to migrate in the fall. Offering a wide array of native nectar plants will attract monarchs and many other butterflies and pollinators to your habitat all season long.

Key Habitat Considerations

  • Native milkweeds provide food for monarch caterpillars.
  • Native flowers provide food for adult butterflies. A combination of early, middle and late blooming species, with overlap in flowering times, will fuel butterfly breeding and migration and provide beautiful blooms season-long.
  • Insecticides should never be used in or surrounding pollinator habitat. Limit use of herbicides within and surrounding the habitat only to control invasive or noxious weeds.
  • Habitats can be created in any open space protected from untimely mowing or pesticide application.

You can check with local native plant nurseries or greenhouses for their recommendations of good pollinator plants for your area.

Milkweeds can be propagated from seeds, cuttings, and, in some cases, from root divisions. Milkweed seeds can be planted in prepared beds outdoors or started indoors in flats. We recommend the latter approach since germination rates are usually higher indoors and it is easier to establish your milkweeds with transplanted seedlings that are well-rooted and therefore more resistant to weather extremes and pests.

Harvest and Storage of Milkweed Seeds

If you have some milkweed and would like more for next year to promote butterfly a habitat in your garden; the timing of the collection of milkweed pods or seeds is critical. Mature pods are those that are within a day or two of opening. If you squeeze the pods and they don’t open easily, they usually do not contain mature brown seeds. Seeds well into the process of browning and hardening will germinate when planted the next season. Pale or white seeds should be not collected.

Preparation for planting

To stratify seeds, place them in cold, moist potting soil (sterilized soil is best but is not required) in a dark place for several weeks or months. Since most people prefer not to place potting soil in their refrigerators, an alternative is to place the seeds between moist paper towels in a plastic bag. This procedure works well, in part because there are fewer fungi and bacteria available to attack the seeds. After a stratification period of 3-6 weeks, the seeds can be planted in warm (70˚F), moist soil. Without stratification, the percentage of seeds that germinate is usually low.

Germinating, Growing and Transplanting
Milkweed seedlings can be started indoors in a greenhouse or under artificial lighting and then transplanted outdoors after the average date of last frost. If seeds are started indoors, allow 4-8 weeks growing time before transplanting. Plastic flats can be used to start the seeds. Fill the flats with a soil mix thoroughly soak the soil, and let the excess water drain. Sow the seeds by scattering them on the soil surface 1/4-1/2 inch apart, and then cover with about 1/4 inch of additional soil mix. Gently mist the soil surface with water to dampen the additional soil mix that has been added. To improve germination rates, you can place the seeds in packets made from paper towels and soak them in warm water for 24 hours prior to planting. This method seems to work especially well for seeds of species that require stratification.

After the seeds are sown in the flats, cover each flat with a clear plastic cover or a plastic bag to keep the seeds from drying out while germinating. Then, place the flat under grow lights, in a warm sunny window, or in a greenhouse. Most seeds will germinate in 7-10 days if the flats are maintained at 75˚F. After the seeds have germinated, remove the plastic covering from the flats. Once the seedlings have emerged, the soil should be kept moist by watering the flat from the bottom. You can water from the bottom by placing the flat in a sink or a larger flat filled with 2 inches of water until moisture appears on the soil surface. The soil should be kept moist but some care is needed to keep the seedlings from getting too wet to prevent any fungal growth.

The plants are ready to be transplanted when they are about 3-6 inches in height. Before transplanting, acclimate the plants to outdoor conditions for a few days by placing them in a sheltered location during the day and then bringing them indoors at night. The seedlings should be planted 6-24 inches apart depending on the species (check the back of your seed packets for information). Newly transplanted plants should be watered frequently. Add mulch around the seedlings soon after planting. The mulch holds in the moisture and minimizes the growth of competing weeds. The seedlings should be fertilized 2-3 times during the growing season if using water-soluble fertilizer or once a season if you utilize a granulated time-release formulation.

When to Plant
Milkweed seeds can be sown outdoors after the danger of frost has passed. Plant the seeds early since those planted late in the season may not germinate because of high temperatures. Keep in mind that seeds have a range of soil temperatures at which they will germinate. Remember sunny conditions can cause the soil temperatures can be much higher in daytime. Germination outdoors depends on soil moisture and temperature and could take several weeks if conditions are not ideal.

Posted in: Animals, Around the District, Community, Customer Infomation, Garden, Monarch Butterflies

Leave a Comment (0) →
Page 24 of 39 «...10202223242526...»